How to Filter Checkboxes by Checkboxes using Dynamic Population
Use Checkbox selections to filter other Checkboxes on your form. Example: turn a customer’s selection of yoga class times into that customer’s preferred times.
This article requires the GP Populate Anything perk.
Buy Gravity Perks to get this perk plus 48 other premium Gravity Forms plugins!
The premise is simple: you’re using a Checkbox field and you want to populate just the selected Checkboxes from it into a separate Checkbox field.
Let’s say you have a large checklist of available yoga classes for a customer to select. Once a customer selects the times they are available for, you may want to take those available times and ask the customer to choose their preferred times from the list of available times they just selected.
So let’s make it happen! We’re going to show you how you can use Gravity Forms Populate Anything to filter and dynamically populate a field of checkboxes based on another Checkbox field. Then we’ll take it further and use Gravity Forms Limit Checkboxes to restrict how many preferred times a user can select.
Steps
Step 1 – Create a Mapping Form
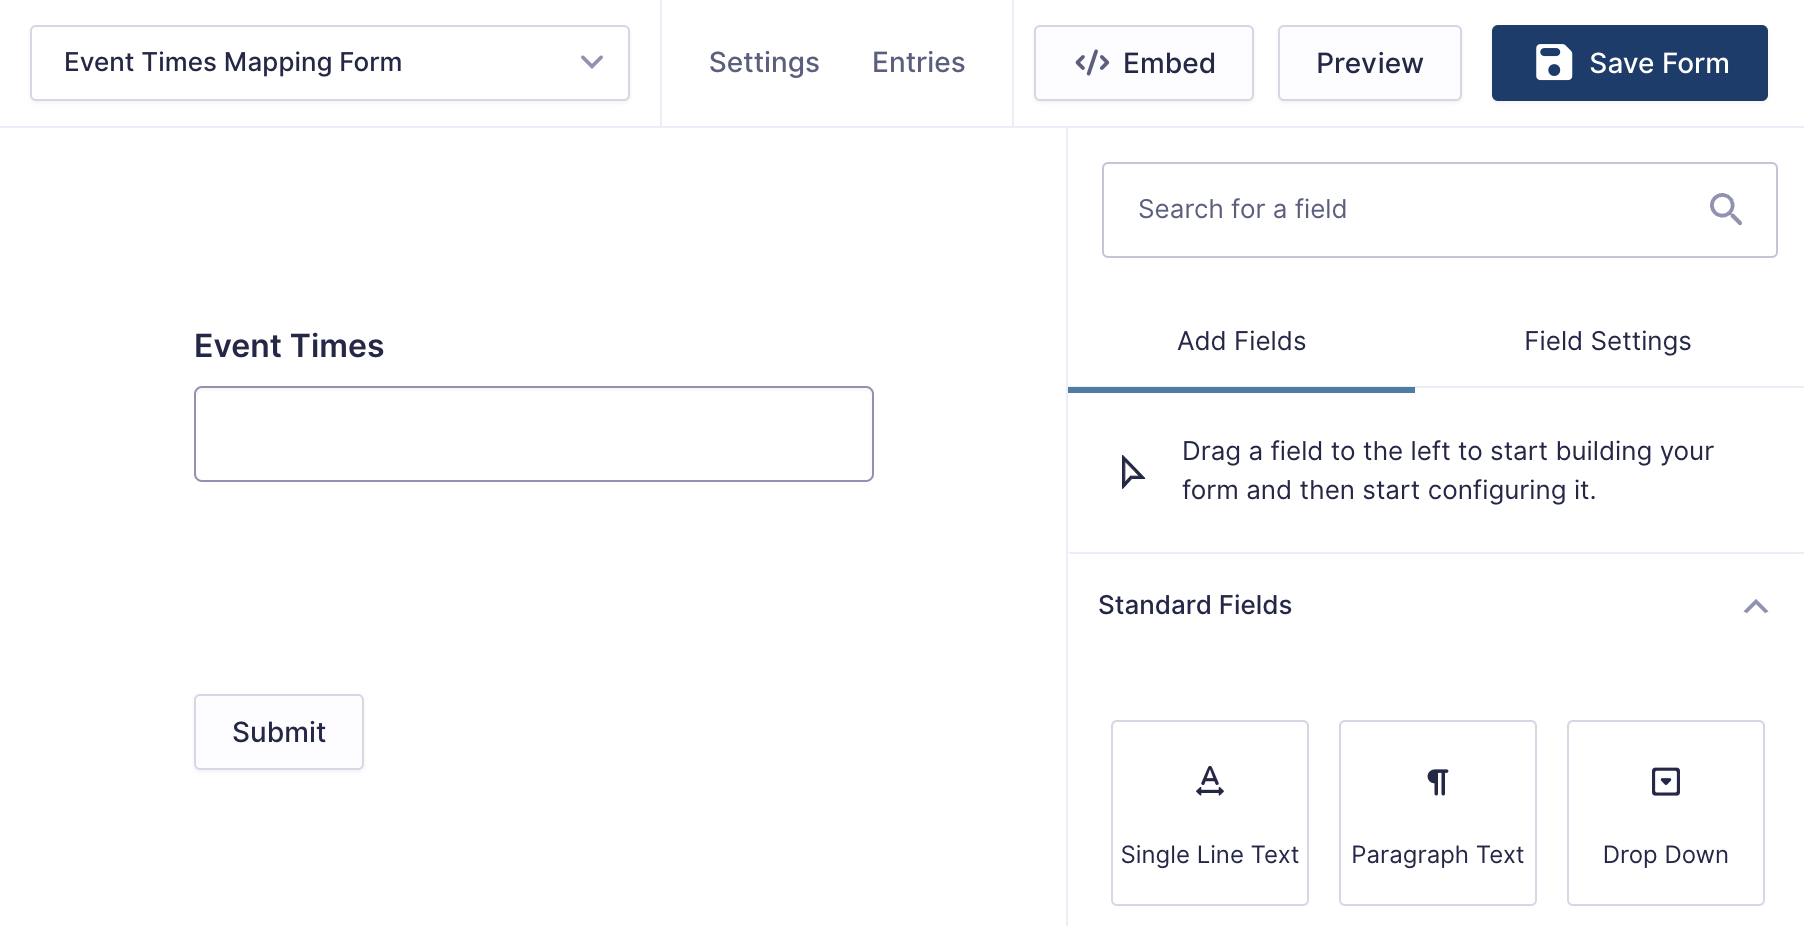
First, let’s create a source form where we’ll store all of the times that a user can select from. This form acts like a database and is only used internally.
Start by adding a Single Line Text field called Event Times to your form. Don’t forget to save when you’re finished.
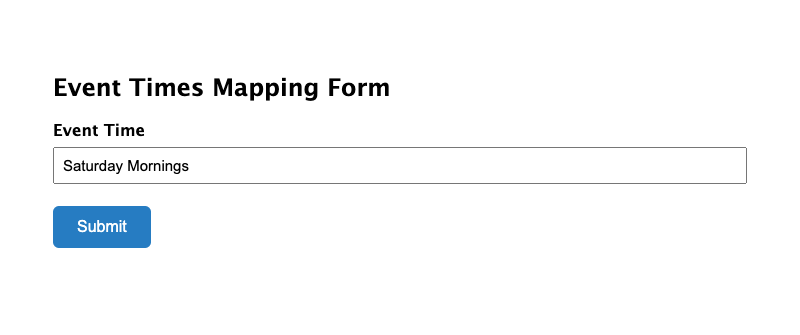
Step 2 – Submit Mapping Form Entries
Open the form in Preview Mode. Type in the Date and Time you want to include, submit the form, and repeat for each option. In this example, I want to submit six form entries for mornings, afternoons, and evenings on Saturdays and Sundays:
Step 3 – Create the Main Entry Form
Create a new form – this will be displayed publicly to your users.
Add the Available Times Field
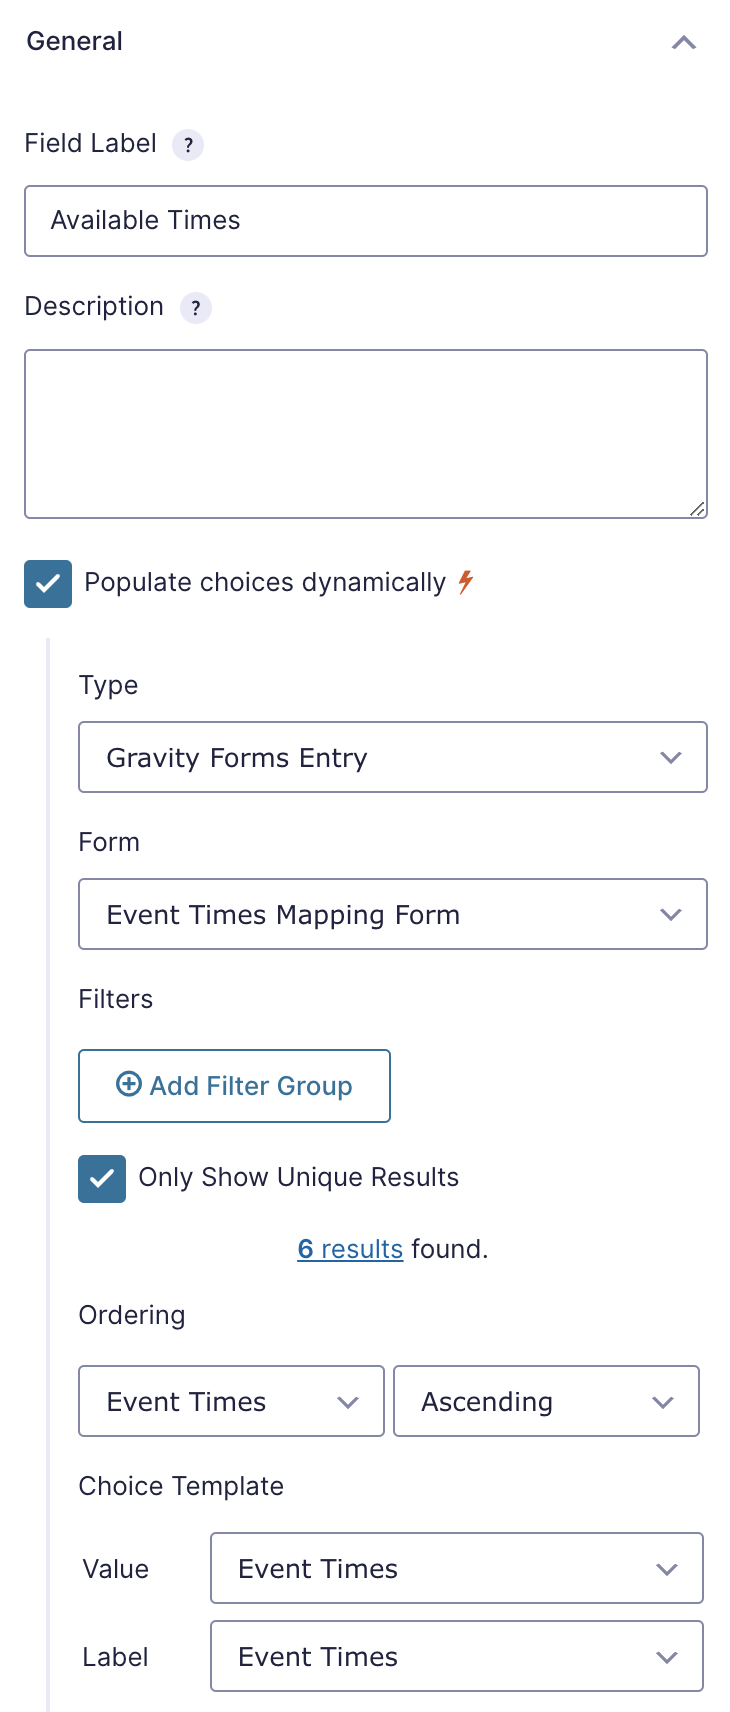
In the new form, we’ll add a Checkbox field called Available Times. In the field settings, choose Populate choices dynamically. Set the Type as Gravity Forms Entry, and set the Form to be your mapping form from Step 2.
Under Choice Template, set both the Value and Label fields to use the Event Times field:
Add the Preferred Times Field
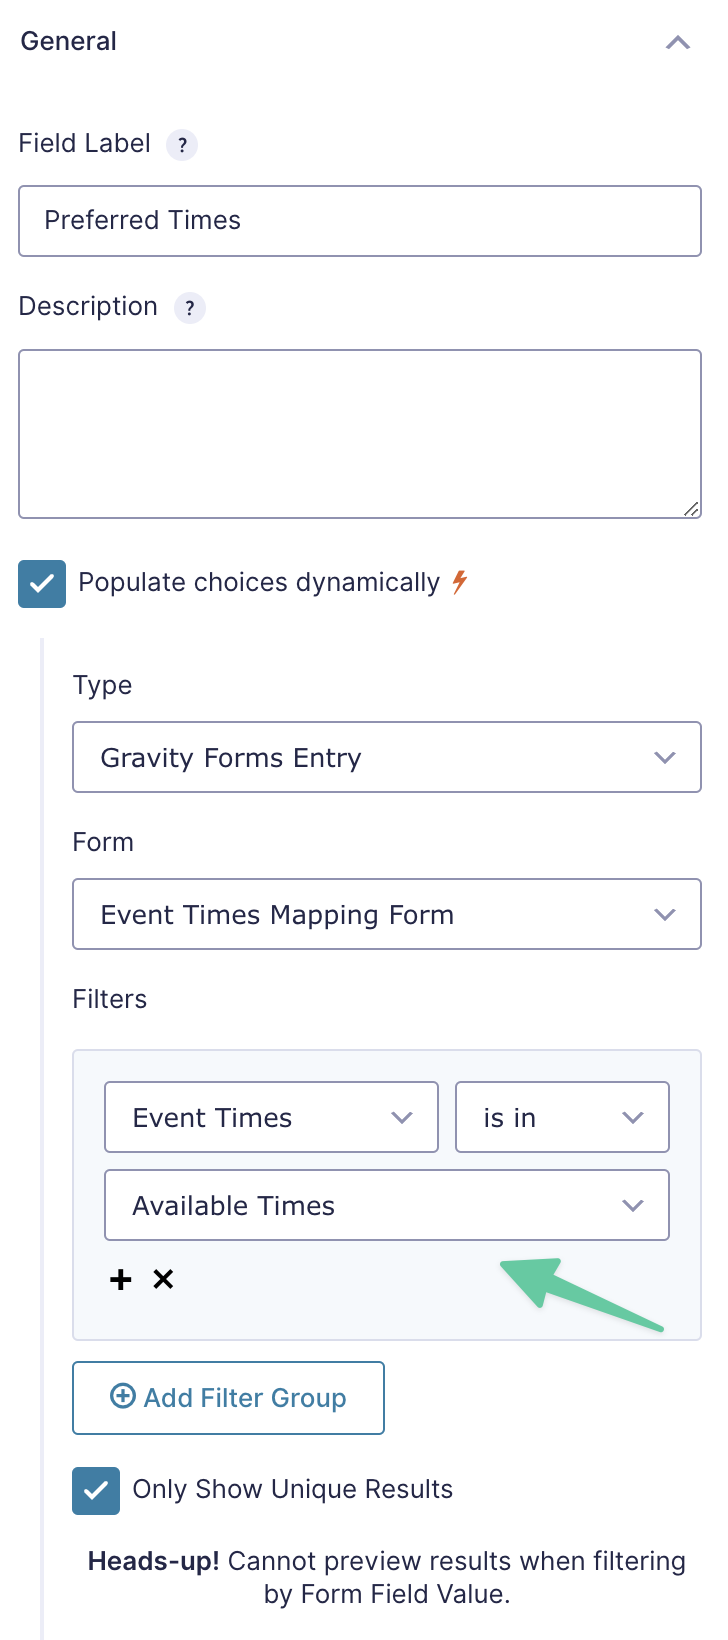
Add another Checkbox field called Preferred Times. We’ll want to populate the checkbox options based on what was selected in Available Times above.
Start by creating this field the exact same way as the Available Times field. You’ll want to populate the checkbox choices from the same mapping form. To only show users the choices they selected under Available Times, click Add Filter Group under the Filters section of the field settings.
We’ll want to set our filter to make sure Event Times field is in Available Times, like this:
Save the form and click Preview. You should now see the list of preferred times only appear after the available times are selected:
Taking it Further
Limit How Many Checkboxes can be Selected
Let’s say we want to only allow the user to pick just one preferred time, and this field is required. If you’re looking to limit how many checkboxes a user can select, Gravity Forms Limit Checkboxes is a perfect fit!
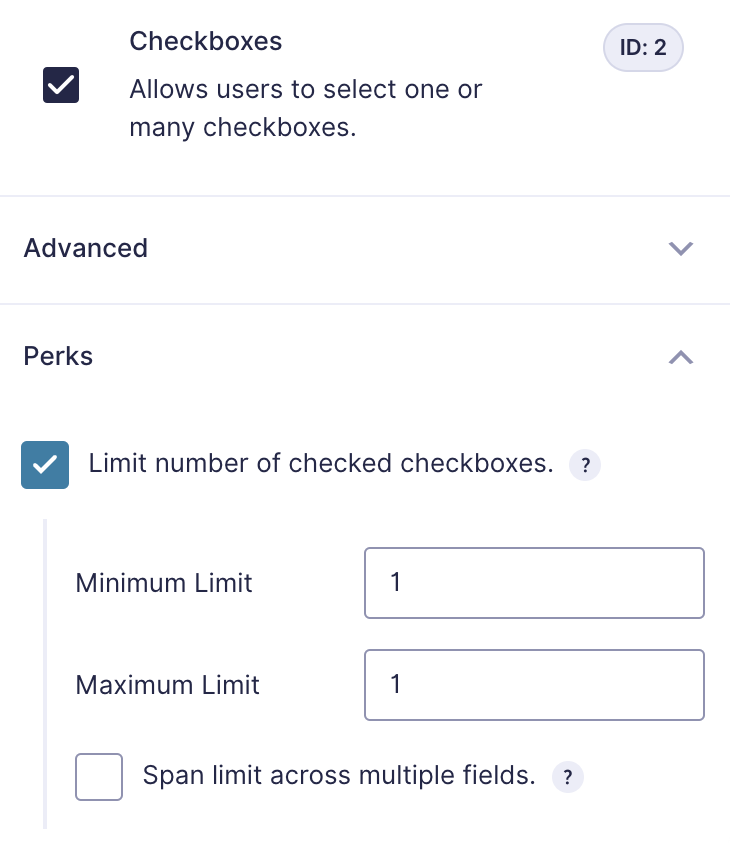
Once Limit Checkboxes is installed and activated, go to the Perks section of the field settings, and click Limit number of checked checkboxes.
Set both the Minimum Limit and Maximum Limit to 1. The Minimum Limit means the user has to select a preferred time, and the Maximum Limit makes sure they can only select just one preferred time:
Check or Select Choices Conditionally
Looking for a way to check checkboxes conditionally based on values selected in other fields? Check out our conditional checkboxes tutorial here.
Step 4 – Try it Out
Want to see how it works for yourself? Download our sample forms here.
Not sure how to import forms? Learn how you can import forms here.