How to Send Gravity Forms Data to Notion
Your workflow just leveled up: Gravity Forms now talks directly to Notion. 🔮
- Step 1 — Install and Activate GC Notion
- Step 2 — Create a GC Notion Feed
- Step 3 — Set Up GC Notion Feed
- Step 4 – Test Connection
- Step 5 – Make Magic Happen with Notion
The Notion Connection makes sending your data from Gravity Forms to Notion databases and automating task creation easy as 1-2-3, or simple as Do-Re-Mi, ABC... 🕺
Notion, if you’re not familiar with it, is an all-in-one tool you can personalize for your projects, goals, calendars, roadmaps, and more. With its database capabilities and versatile page blocks, Notion is what we use for our operations here at Gravity Wiz — team collaboration, project management, HR, admin… you name it, Notion does it.
In this guide, I’ll show you how to set up this magical link using a job application form. Let’s go!
This article requires the Gravity Connect Notion plugin.
Buy Gravity Connect to get this plus other premium Gravity Forms plugins!
Step 1 — Install and Activate GC Notion
GC Notion is available through Gravity Connect and can be installed via Spellbook.
Before we continue, make sure you have a Notion database and a Gravity Forms form ready to go. If not, these resources will help you get set up:
– How to create a database in Notion.
– How to build a form with Gravity Forms.
Step 2 — Create a GC Notion Feed
Head to the form you want to connect with Notion. In the Settings menu, click on Notion—you’ll land on the GC Notion Feeds screen. From there, click on Add.
Step 3 — Set Up GC Notion Feed
Authorize your Notion account and connect to a database. Then, map each form field, form property, or Notion value to its corresponding Notion property.
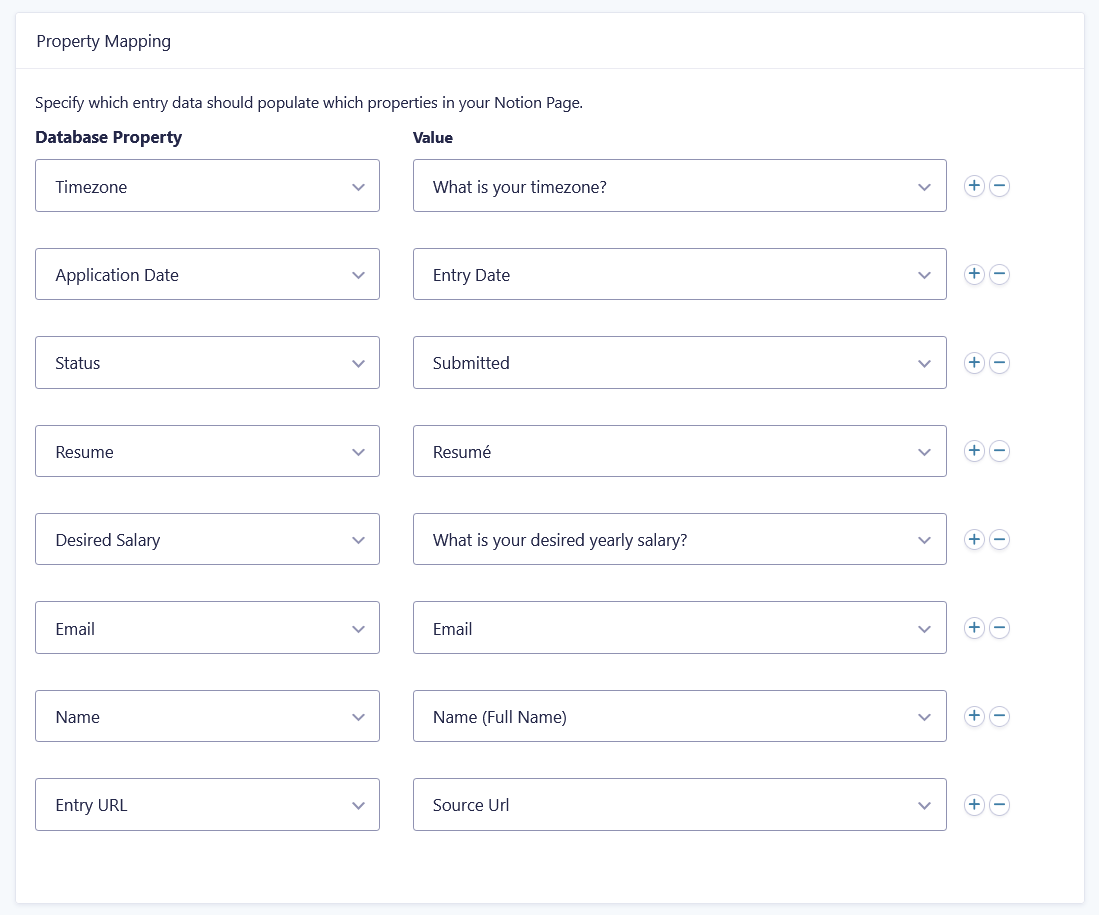
For properties like Select, Multi-Select, and Statuses, you can match existing values or create new ones from Gravity Forms. Check out the full list of available property combinations in GC Notion’s documentation.
My favorite part: Since every entry in a Notion database is its own page, you can also build the layout using the Page Content Template. Drop in text, headers, and lists—they’ll turn into proper Notion blocks like magic. Plus, you can also sprinkle in Gravity Forms merge tags to pull in entry data.
Want your pages to stay in sync with your entries? Just turn on Update & Delete Records. When enabled, any changes you make to an entry will automatically update the corresponding page—and if you delete the entry, the page is removed too. You can toggle this setting on or off anytime. 😊
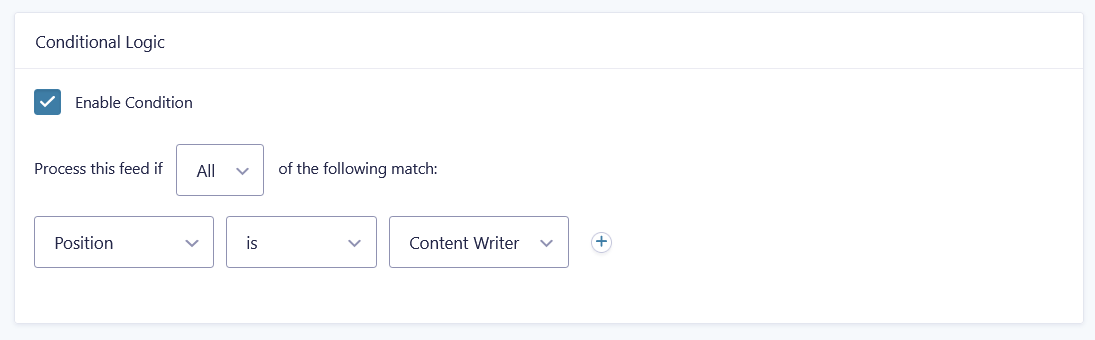
Lastly, you can create as many feeds as you need, and add conditional logic so they only run when the right conditions are met. In my case, I’m using one application form across three job listings, but I want the data to go to separate databases. So, I’ve set up three feeds—each one with a simple rule like this:
Step 4 – Test Connection
After the saving the feed, you can hit the Insert Test Record button to run a quick check that the feed is working.
Pro-tip: I like to add a dummy entry too—it helps me see exactly how the fields line up. 👀
Step 5 – Make Magic Happen with Notion
Now that your data’s in Notion, you can put it to work however you like. Personally, I like viewing job applications in a Kanban board—it makes it easier to visualize and move candidates through different stages and tags.
Here’s a little parting gift: you can follow a full setup for this guide in our Notion Connection Workshop. Dave even shows how you can use AI to help evaluate candidates by combining GC Notion with our OpenAI Connection. It’s wicked! 🪄
What are the projects you are going to use this Connection for? Let us know in the comments!