How to Add Interactive Address Maps to Gravity Forms
Drop an interactive map right into your form that instantly pins the exact location of any autocompleted address.
Type a few letters in the Address field, get suggestions, click, and… address autocompletes. Yup, that’s the GP Address Autocomplete doing its magic. But what if your users need to see it to believe it?
Meet its co-pilot: the Map field.
It adds a map to your form that automatically pins the location when an address is entered or changed. Nothing beats confirmation like seeing a pinned address with your own two eyes—instantly, too. 📍
This article requires the Gravity Forms Address Autocomplete perk.
Buy Gravity Perks to get this perk plus 48 other premium Gravity Forms plugins!
Set Up Address and Map Fields
We need two things to bring this map-marking duo to life: an Address field and a Map field.
Step 1: Enable Address Autocomplete
Before we can drop any pins, you’ll need a standard Address field in your form with Address Autocomplete enabled. If you need a hand setting this up, our full setup guide will walk you through it.
Step 2: Add a Map Field
Let’s summon its co-pilot.
- Open your form (or edit an existing one).
- Under Advanced Fields › add a Map field.
- Click the Map field to open its settings.
- Click the Attached Address Field setting › select the Address field (where Address Autocomplete is enabled)
- Save your form.
That’s it! When users enter or update an address, the map will instantly center and drop a marker right on the exact location.
Pro-tip
You can move around the map by dragging with the mouse and zoom in/out with the Command/Ctrl + scroll wheel.
Want to narrow it down? You can filter Address Autocomplete suggestions to show only the places you need—by country, radius, city, or specific location.
Can I Customize the Map Field?
You bet! While it works perfectly as is, you’ve also got options to change how the Map field looks and behaves.
Heads up
These tweaks need code snippets to work. To use them, just open your Spellbook › activate GF Code Chest, copy the code snippet, paste it in, and you’re good to go!
Here are three ways to customize the Map field:
Set a Default Starting Location
Instead of showing a generic world view, start your map centered on your city, region, or business area.
How to use: Change the lat (latitude) and lng (longitude) values to your chosen location.
gform.addFilter('gpaa_map_options', function(mapOptions, formId, fieldId) {
    mapOptions.center = {
        lat: 40.7128,
        lng: -74.0060
    };
    return mapOptions;
});
Change the Default Zoom
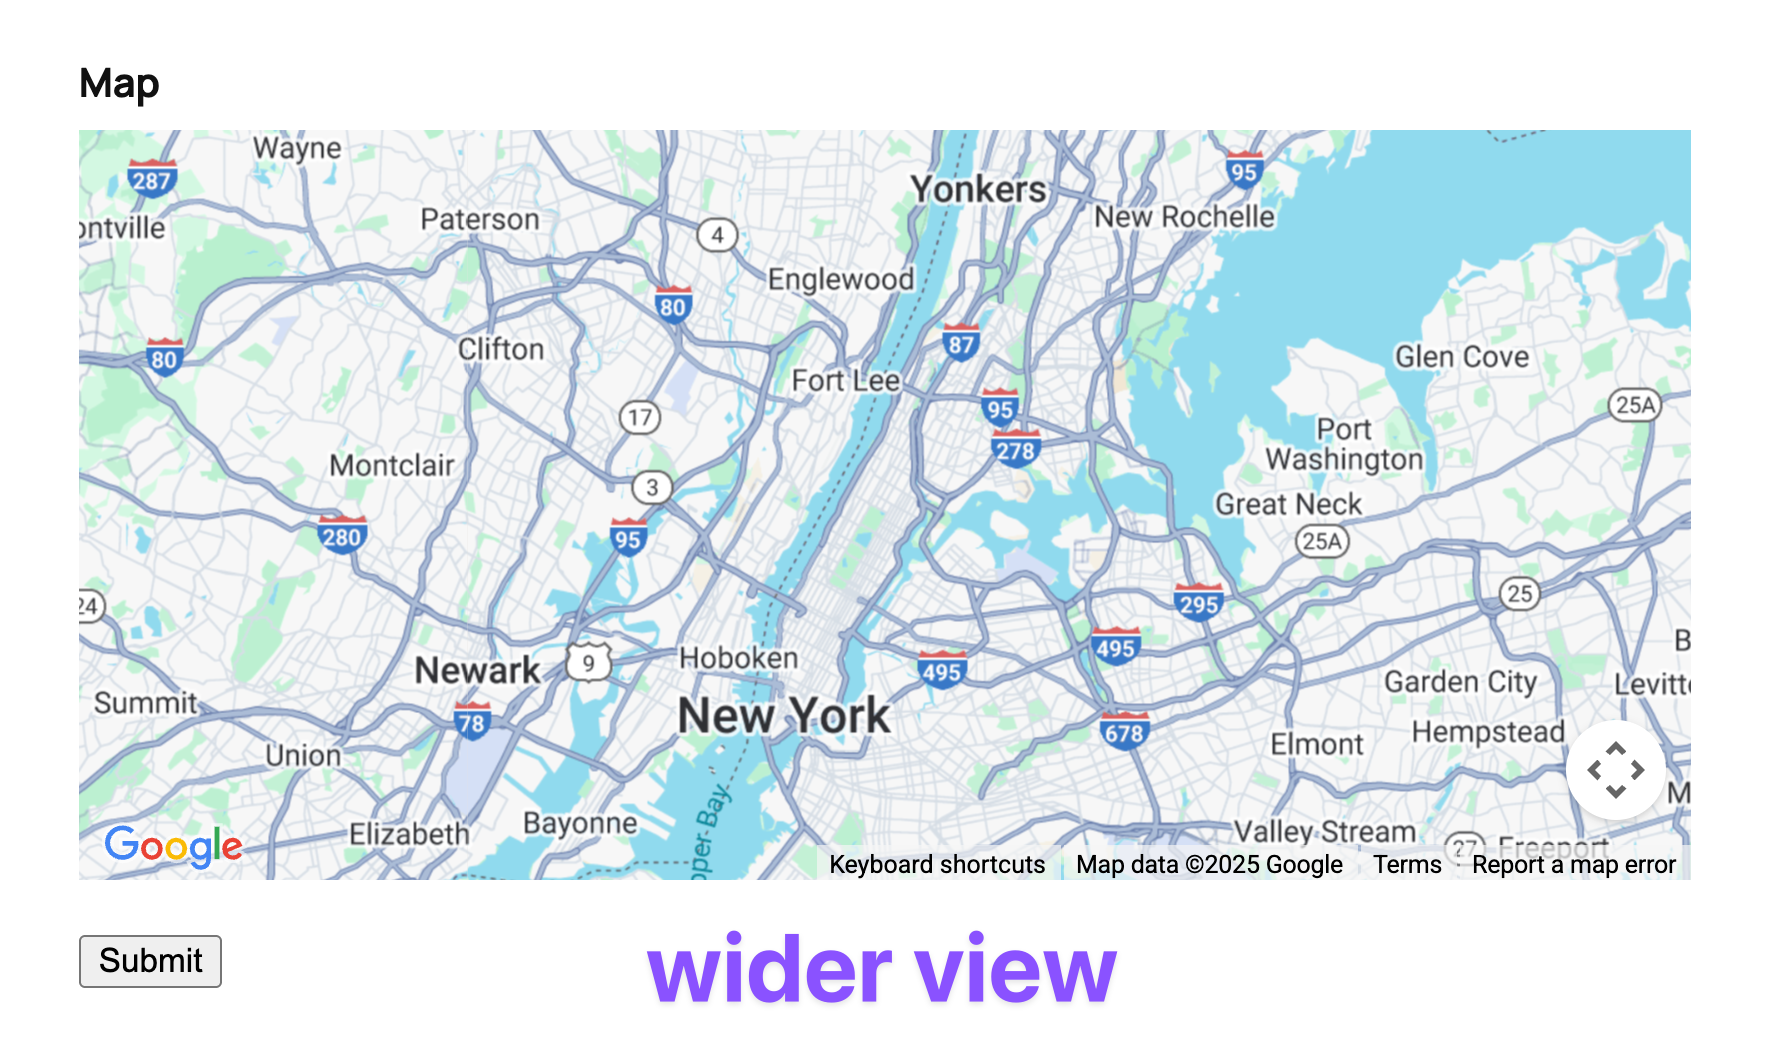
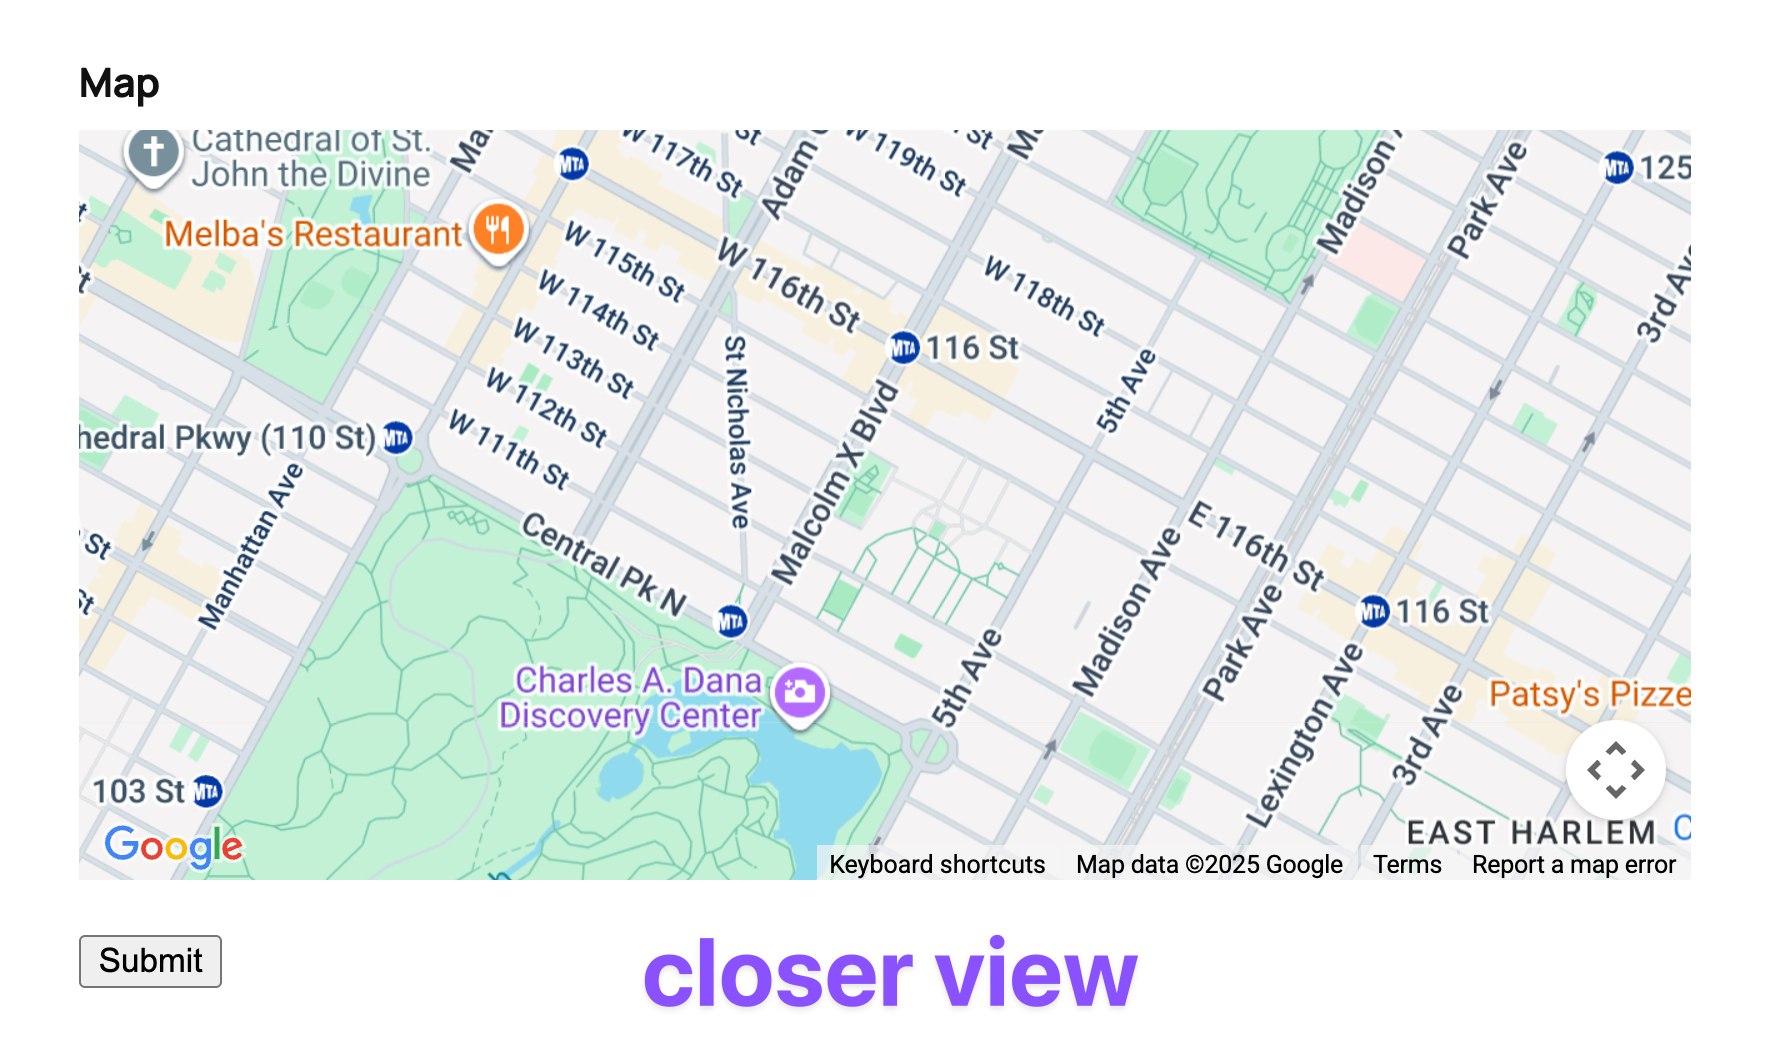
Control how close or far the starting view is. Say you run a delivery service in a specific neighborhood, you might set a higher zoom level so customers can immediately see street-level details.
How to use: Adjust zoom value.
- Lower numbers = wider view (i.e.
10for a city view) - Higher numbers = closer view (i.e.
15for a neighborhood view)
gform.addFilter('gpaa_map_options', function(mapOptions, formId, fieldId) {
    mapOptions.zoom = 15;
    return mapOptions;
});
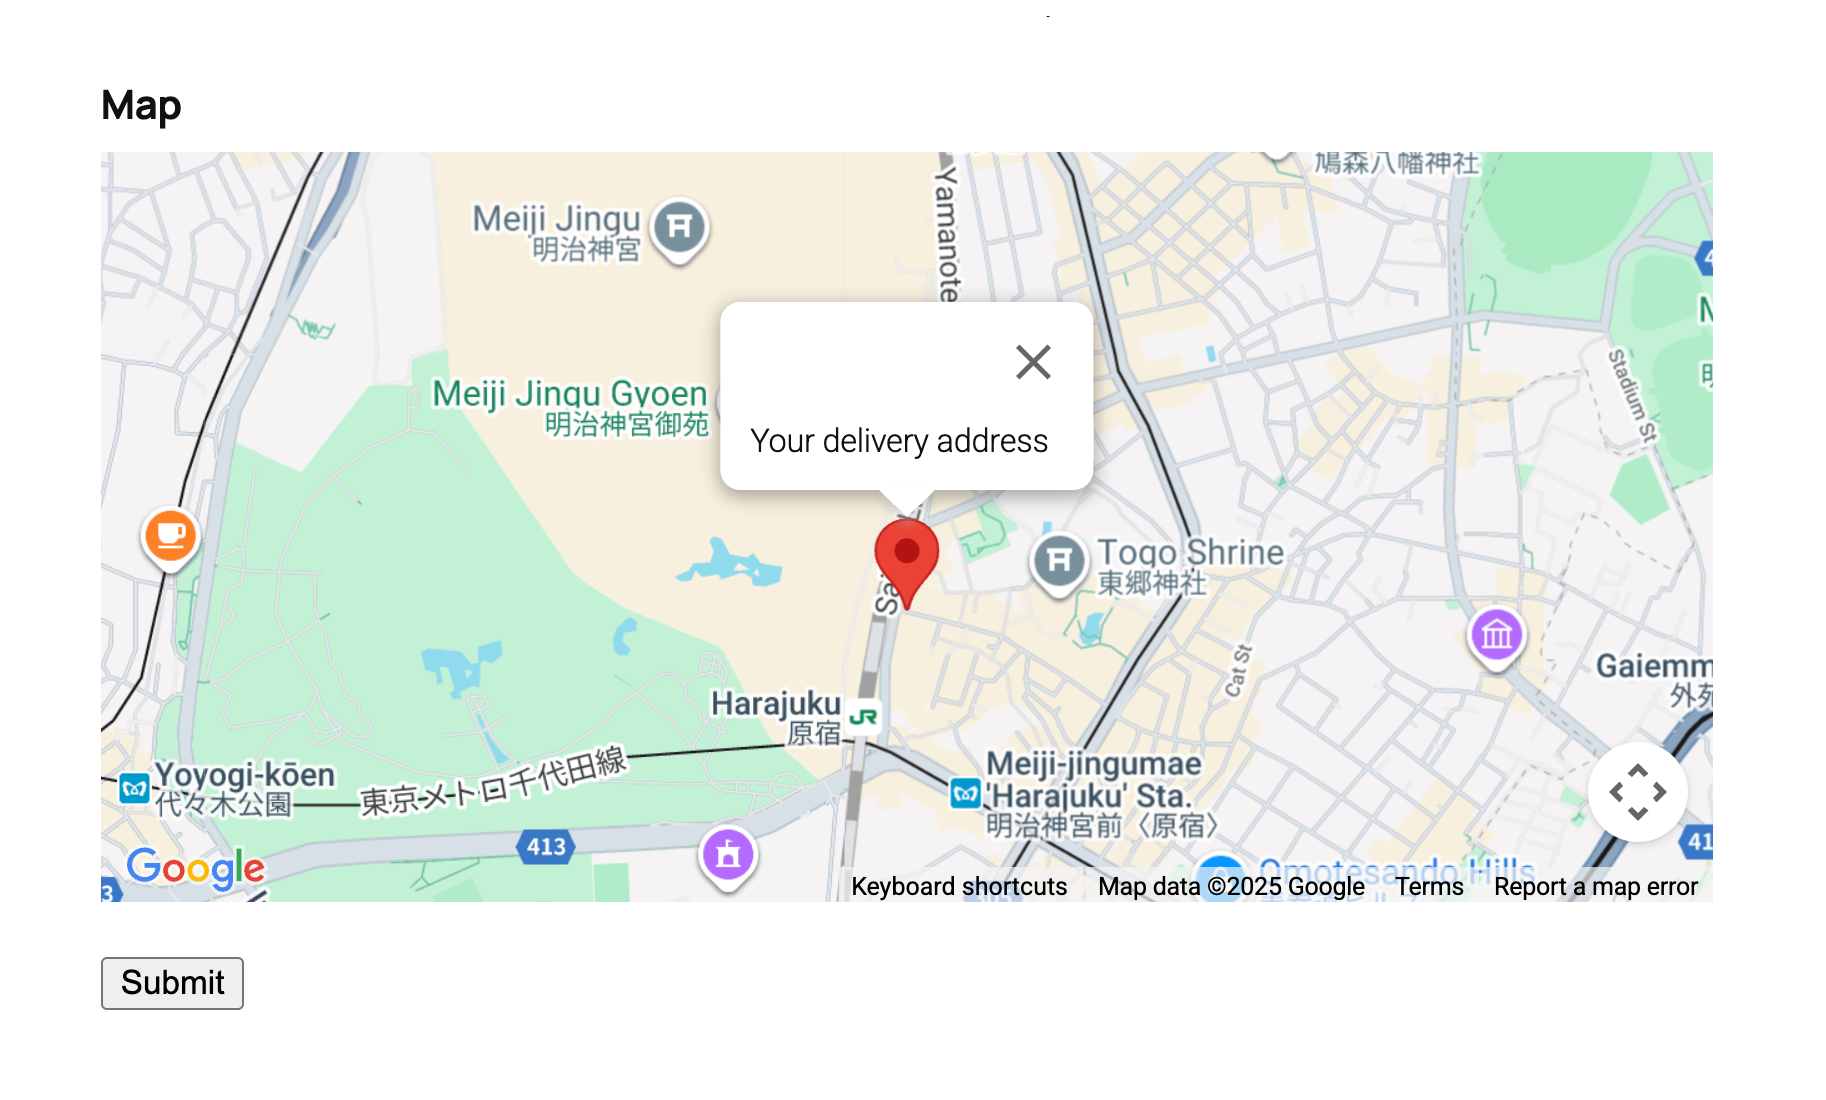
Add an Info Window to the Marker
When the marker pins a location, you can add a helpful popup with custom text like “Your delivery address.” It adds a small touch of helpful context.
How to use: Replace text here with your custom message.
gform.addAction('gpaa_marker_set', function(params) {
    const { map, marker } = params;

    var infoWindow = new google.maps.InfoWindow({
        content: 'text here',
    });

    infoWindow.open({
        anchor: marker,
        map: map,
    });
});
These are just a few ways to tweak the Map field.
If you wanna dive deeper, it’ll require a little more than copy/paste. But if you’re up for it, our documentation has plenty of more tweaks to explore.
Time to Drop Some Pins
Which of your forms will plot the next Address field? 🎯


I want to add a map, with the user able to pin a location. Some of my locations are remote or I might add a pin for a parking location. I don’t want the user to enter an address can you support this?
Hey Tom,
Interesting idea! This wouldn’t be currently supported without an Address field, but I’m going to be following up with you via Support to gather a few more details about your desired use case here.
Wow, nice ! whould be very cool to have the ability to select distance between two “pin”
Hi Jean-Sebastien,
Pinning two locations on a map and calculating the distance between them isn’t currently supported. I’ll add this to our feature request board for consideration.
Best,