Optimize and Offload Uploaded Files with Gravity Forms
Automatically optimize images and offload files uploaded through Gravity Forms.
This article requires GP Media Library and GP File Upload Pro.
Buy Gravity Perks today and get 48+ premium Gravity Forms plugins, including these perks!
Overview
Optimizing and offloading your site’s media files is an easy way to speed up the performance of your site. In this short tutorial we’re going to show you how to set up WordPress image optimization and media offloading for files that are uploaded through Gravity Forms.
To handle this media magic, we’re going to use these three plugins:
Let’s get started.
- Install and Activate these Plugins
- Configure WP Offload Media
- Configure GF File Upload Pro
- Enable GF Media Library
Step 1 – Install and Activate the Plugins
Let’s get started by installing and activating GF Media Library, GF File Upload Pro, and WP Offload Media Lite.
Once they’re installed, we’ll configure everything.
Step 2 – Configure WP Offload Media
The steps for setting this up will depend on which cloud provider you want to offload your files to. It currently supports Amazon S3, DigitalOcean Spaces, and Google Cloud Storage.
Follow these guides for setting up your provider:
Step 3 – Configure GF File Upload Pro
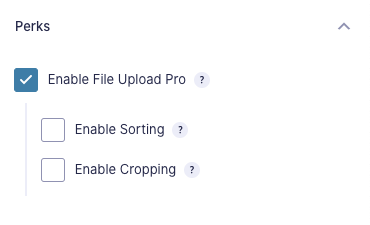
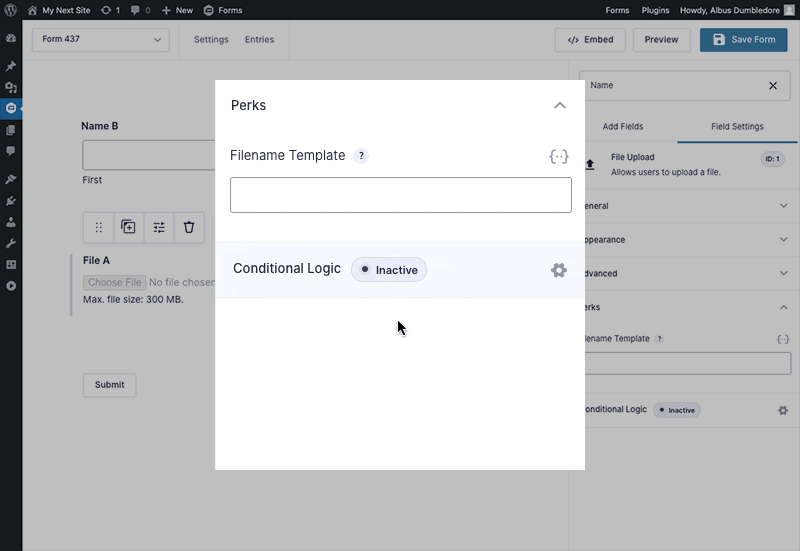
With your provider set up, navigate to any form with a File Upload field or add a new one. Navigate to the field settings and select the Perks tab. Then, select Enable File Upload Pro.
Then, select Enable Cropping. When cropping is activated on a File Upload Pro field, it automatically activates image optimization for any images uploaded to that field. This optimization happens even if the user doesn’t crop their image.
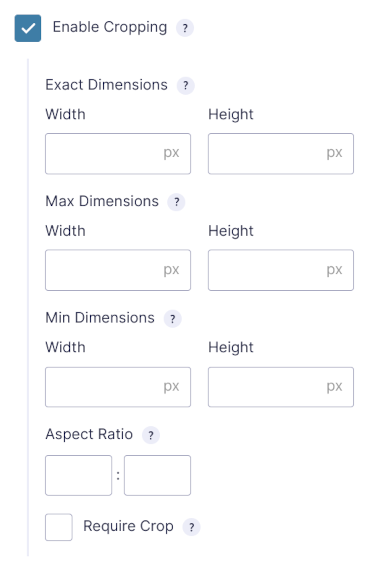
If you want further optimization, set Max Dimensions for images. File Upload Pro will automatically downscale any image files to within those maximum dimensions, further optimizing your image sizes.
Step 4 – Enable GF Media Library
Enabling GF Media Library is as easy as selecting the Upload to Media Library option in the Perks tab.

That’s it. Your files will now automatically be offloaded to your cloud storage provider, and if the file is an image it will be resized and optimized according to your settings.
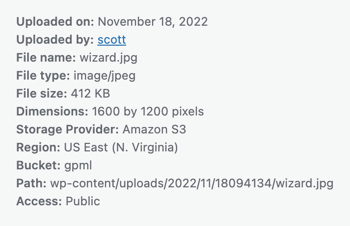
Here I am uploading a 3 megabyte file that’s 4608×3456 pixels large.
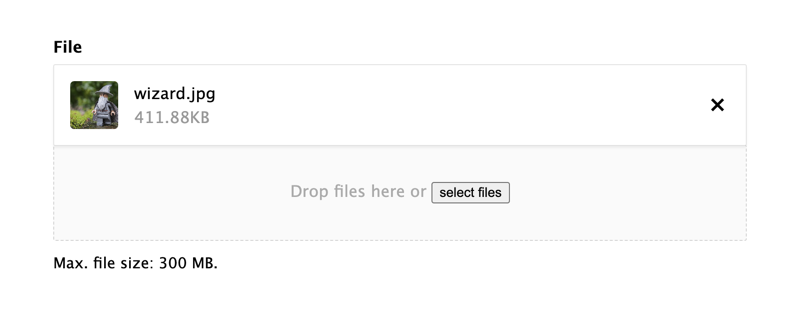
And here it is resized, optimized, and hosted on Amazon S3 seconds after I click the Submit button.
Fun to note, I could have also used a Gravity Forms AI-generated image here–learn how to generate AI images with GC OpenAI.
Taking It Further
Rename and Organize Files with File Renamer
In addition to offloading and optimizing images, you can rename the files easily using GP File Renamer. Files are renamed before they are added to the Media Library, ensuring that the offloaded filenames match your preferred schema. You can use merge tags to rename files based on values submitted with the form entry. File Renamer also automatically depuplicates file names and gives you control over where the incremented value is located.
Further Optimization with EWWW Image Optimizer
EWWW Image Optimizer adds additional options for optimization, customization, and file format support. It can automatically convert images to WebP and supports compressing PDF files on top of JPG and PNG files. They even offer a paid service that includes features such as lazy loading, CDN support, and other great features.
There’s a ton more options in the settings for the plugin. I recommend having a look at the documentation for a deep dive in those.


Will this work with any S3 Provider such as Wasabi?
Hi Daniel,
Uploading the files to the external storage is the functionality of the WP Offload Media Lite plugin. I’ll suggest you contact the developers of that plugin to see if what you want is supported.
Best,
This is a great tips but I would love to ask, if this will work for files already uploaded
Hi Victory,
Currently, this doesn’t work for files already uploaded and not in the media library folder.
Best,
We have a CPT created via GF. We’re currently using multiple “Post Image” fields, which also uploads to the Media Library and associates the image to the newly created post. This allows us to display a gallery of all associated photos on the post itself.
I’ve love to have ONE upload field using GF File Upload Pro and maybe also the file renamer. Can files uploaded using Upload Pro be automatically associated with the post?
Yessir, Jeff!
Do you know if this will work for files already uploaded using the field, or if any additional work would be required? Or does this only work for files uploaded moving forward.
Hi Matt, out of the box this will work for newly updated files only!
For the last screenshot, where do I find this?
Hello Jerry, this would be found in your media —> Library. Click on one of the images and you should see the details.