Accept Donations on Your WordPress Site with Gravity Forms
Accept donations in WordPress with Gravity Forms – customize donation forms, add payment gateways, and integrate with other platforms.

- Why create a donation form in WordPress?
- How do you create a donation form with Gravity Forms?
- Get more out of your donation forms
- That’s it!
Gravity Forms makes it easy to create a donation form that is fully customizable, secure, and user-friendly. In fact, we’d wager it’s one of the best WordPress solutions available for accepting donations.
With the ability to integrate payment gateways and multiple payment methods, it simplifies the donation process. It also helps you gather valuable information from your donors, while keeping them on your website and not redirecting them to another platform.
In this article, we will provide a step-by-step guide on how to set up a donation form with Gravity Forms.
We’ll also explore how Gravity Forms and Gravity Perks (our Gravity Forms add-ons) can help you streamline your fundraising efforts, set up recurring donations, increase donor engagement, and achieve your fundraising goals.
Why create a donation form in WordPress?
While collecting donations through your website is essential for any non-profit organization’s fundraising effort, the method you choose can significantly impact your overall success.
Here are some of the reasons why a donation form is a superior choice for your fundraising initiatives:
- Gather additional information from donors: Use a custom donation form to collect valuable information from your donors, such as their contact details. Send personalized thank-you messages and keep your supporters updated on your progress towards your donation goal. Building this connection with your donors not only fosters a sense of community but also encourages future donations.
We’ll cover how to contact users who have filled in your donation form later in the article.
- Keep donors on your website: Maintain a consistent user experience by keeping donors on your website instead of redirecting them to a third-party payment platform. Create a more trustworthy donation experience, ensure seamless payment processing, and enhance your site’s professionalism, potentially leading to higher donation amounts.
- Accept multiple payment methods: Accept donations through various online payment methods, such as credit cards and digital wallets like Google Pay and Apple Pay. Integrate with payment gateways like Stripe to provide your donors with a range of convenient options, making the donation process as smooth and accessible as possible.
How do you create a donation form with Gravity Forms?
Creating a donation form with the Gravity Forms plugin is a simple process, similar to creating a contact form.
The primary difference is the inclusion of fields for users to choose a donation amount and input their payment details.
To get started, you’ll need to install a payment gateway to enable donation acceptance.
Gravity Forms supports popular payment processors like Stripe, PayPal, and Authorize.net.
To install and activate these, you’ll need an Elite license or Pro license.
- Go to the Gravity Forms > Add-ons page in your WordPress admin area.
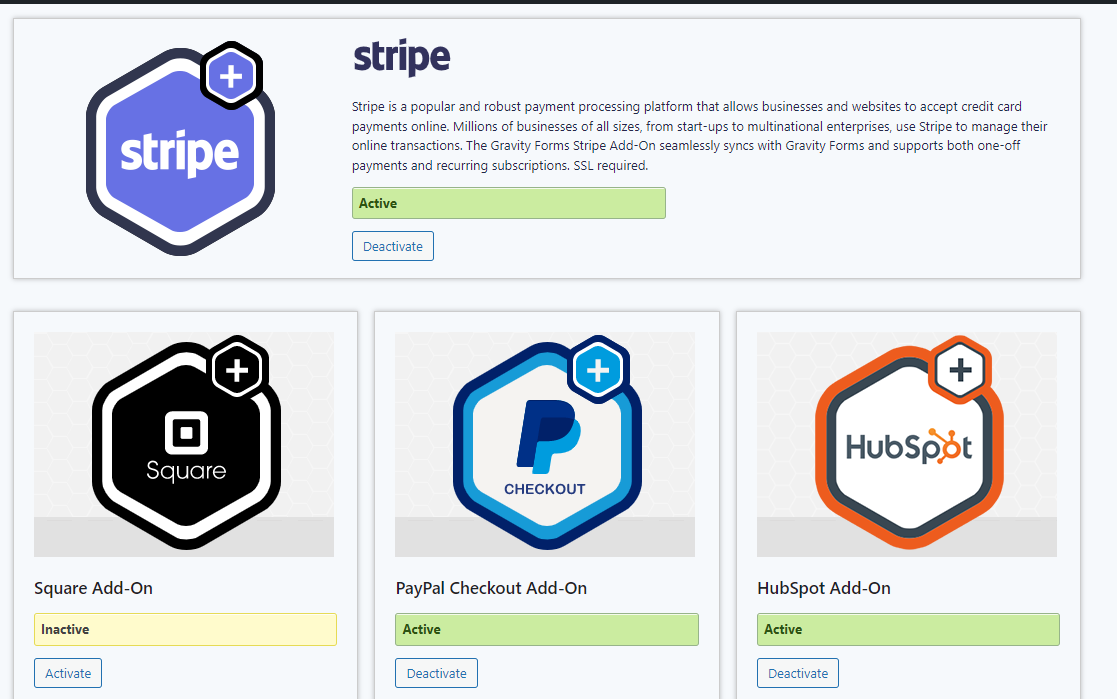
- Once you’ve downloaded your chosen payment add-on, connect your site to the respective payment processor and configure your payment gateway settings.
- Note that an active SSL certificate is necessary to integrate with any popular payment gateways, and it is essential for proper site security.
Here’s a short tutorial to walk you through the steps to create a simple donation payment form with the Gravity Forms WordPress plugin:
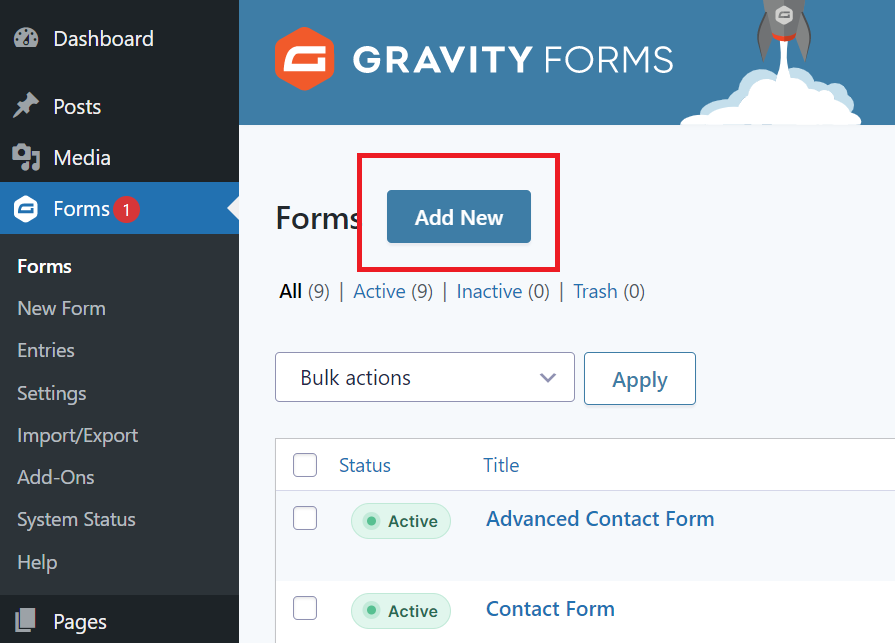
- From your WordPress dashboard, navigate to Forms > Add New Form
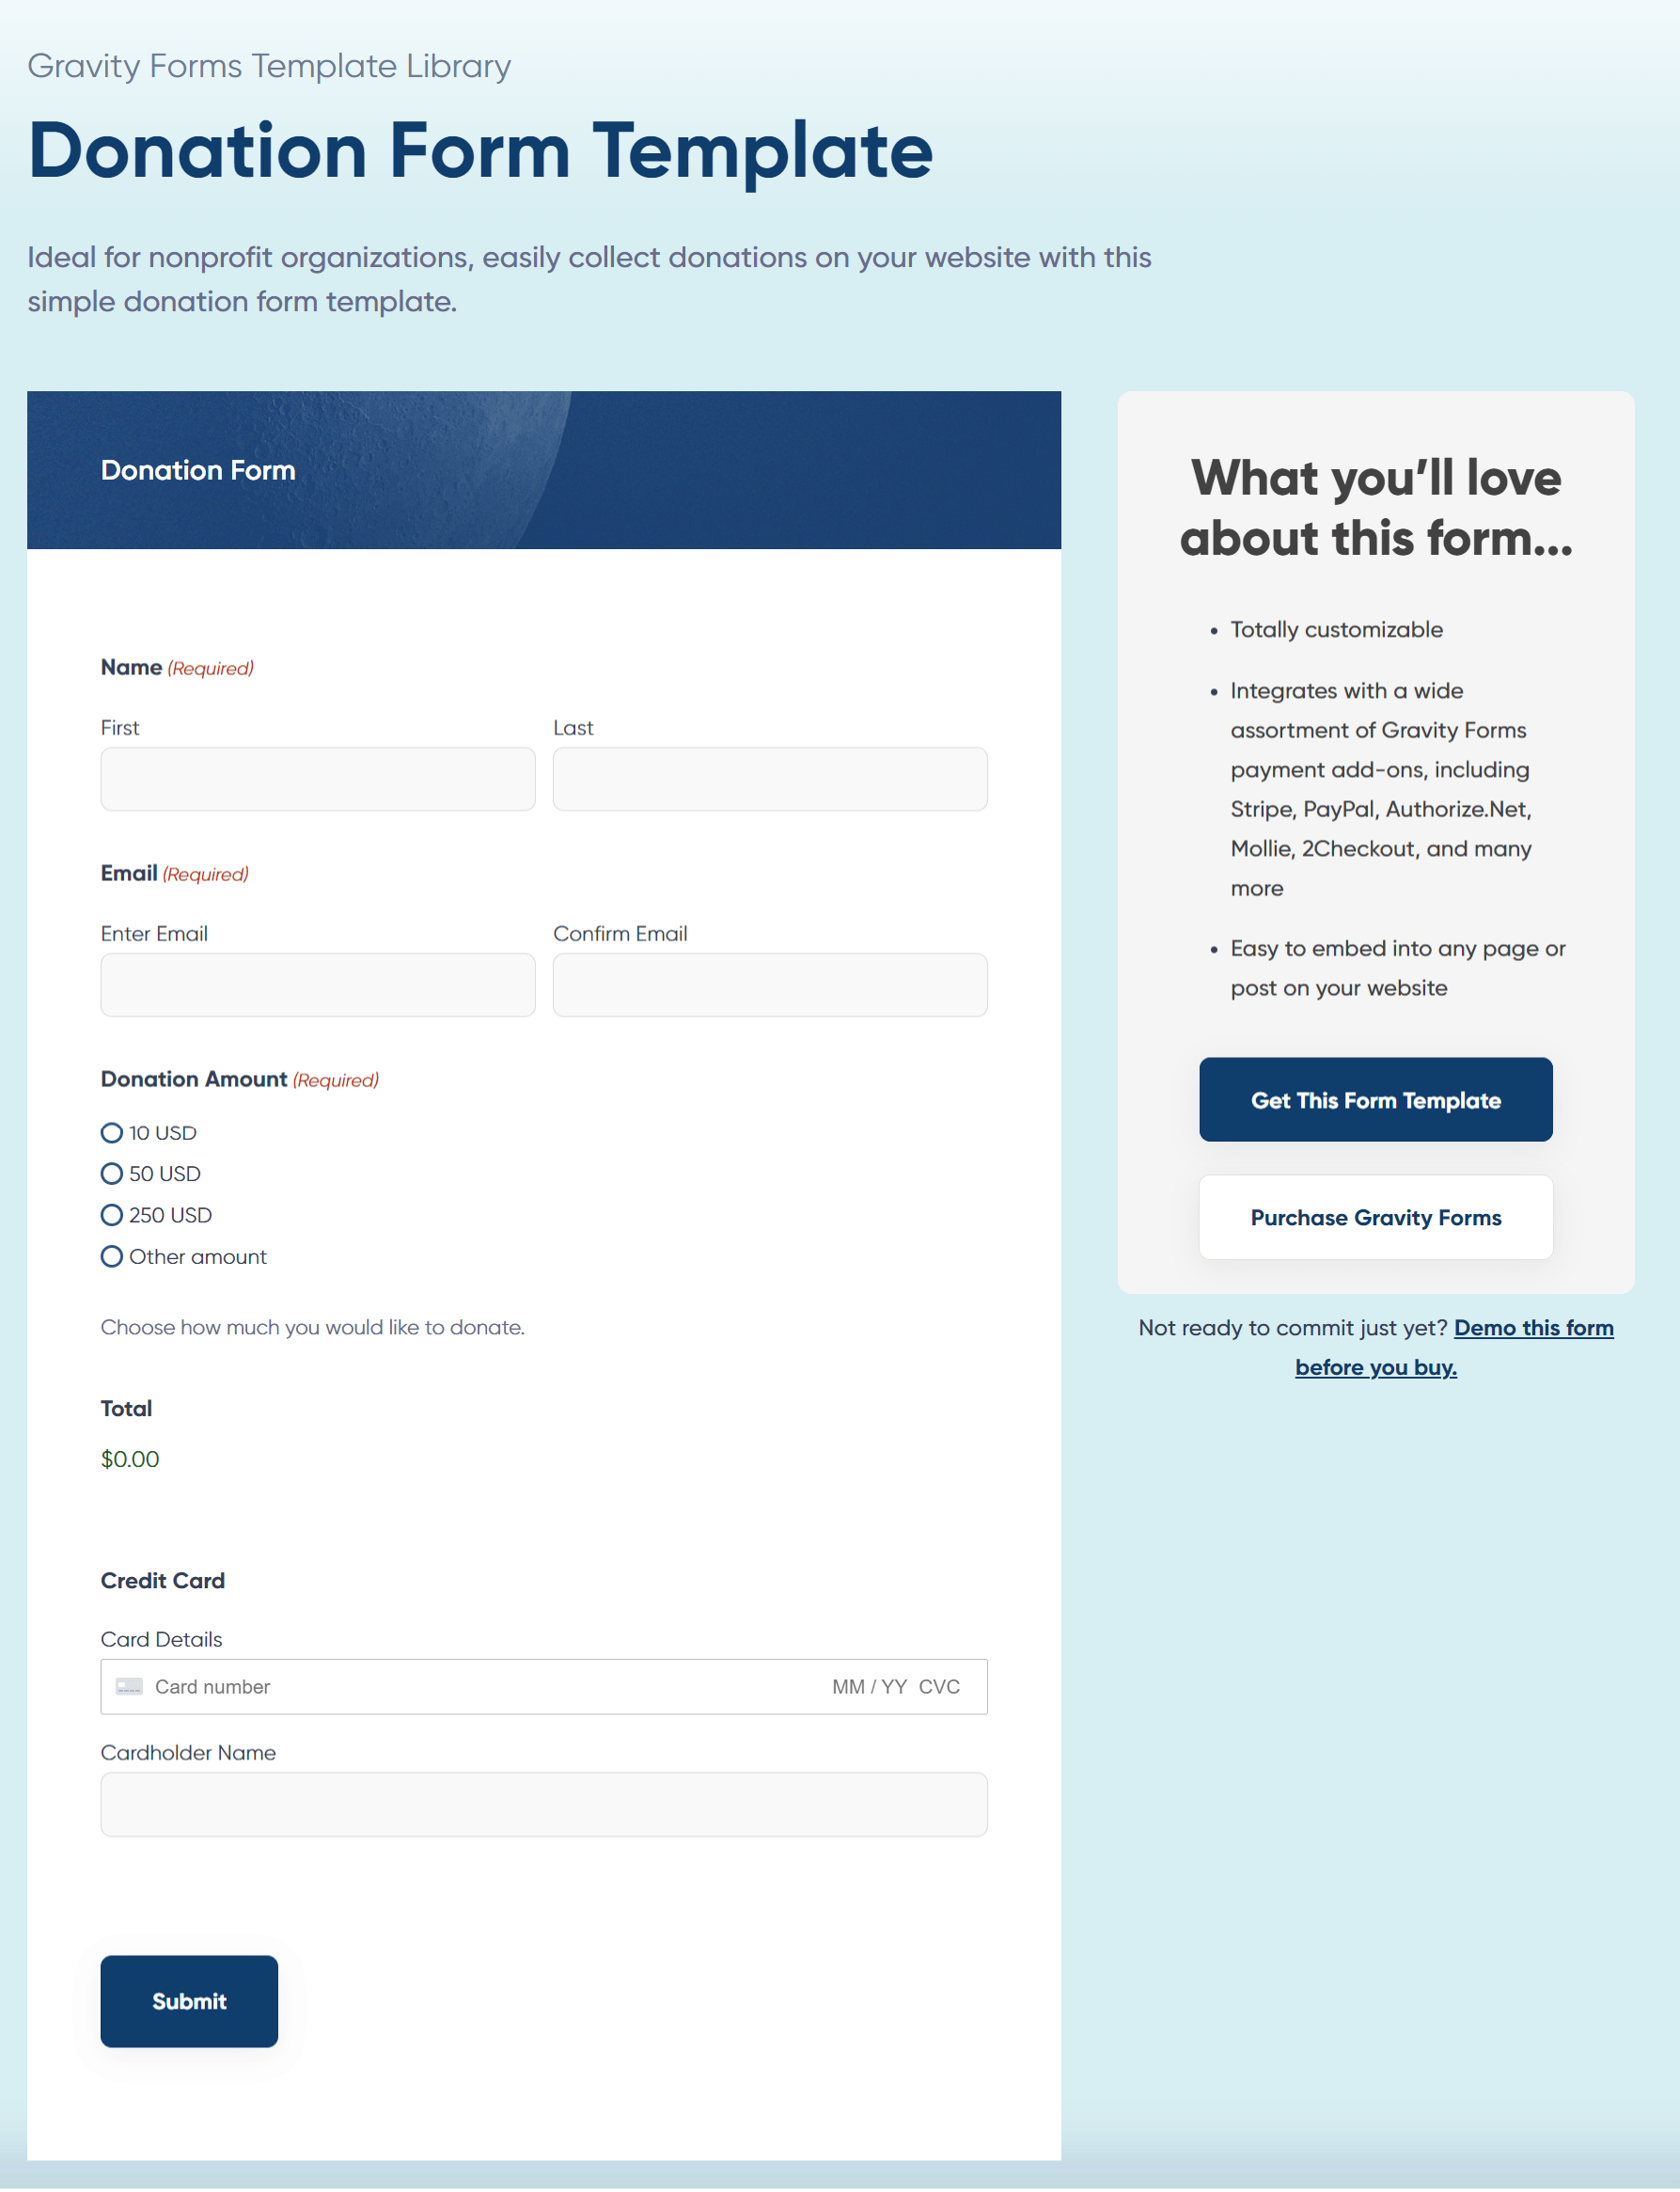
- Select a form template.
To quickly set up your donation form, use this pre-built donation form template from the Gravity Forms template library.
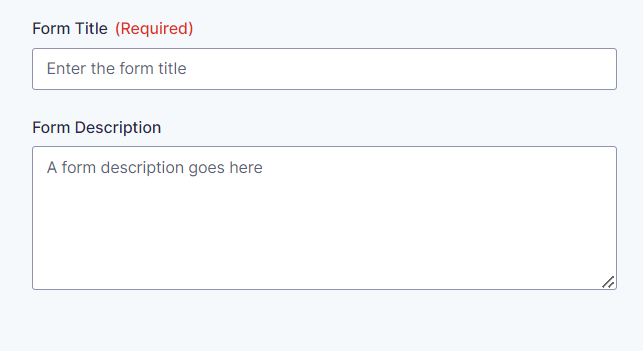
- Give your form a name and description, then start adding relevant fields using Gravity Forms’ drag-and-drop form builder.
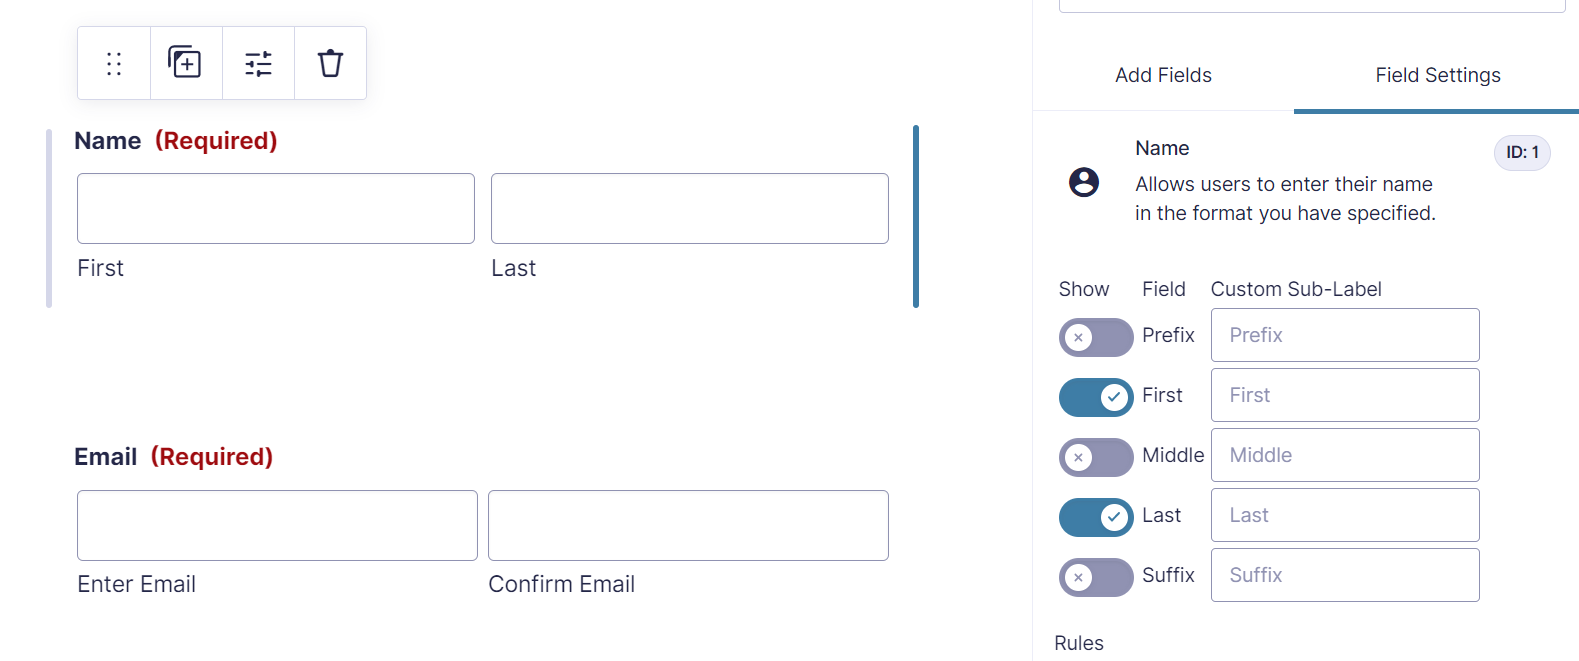
- Donation forms typically include a name field, a contact field (e.g., email address or phone number), a field for users to select or fill in their donation amount, and a payment field for entering card details.
- Name and contact fields can be found under the ‘Advanced Fields’ tab in the form editor, while fields for adding donation options and filling in payment details are located under the ‘Pricing Fields’ tab.
- To offer different donation options, add a Product field.
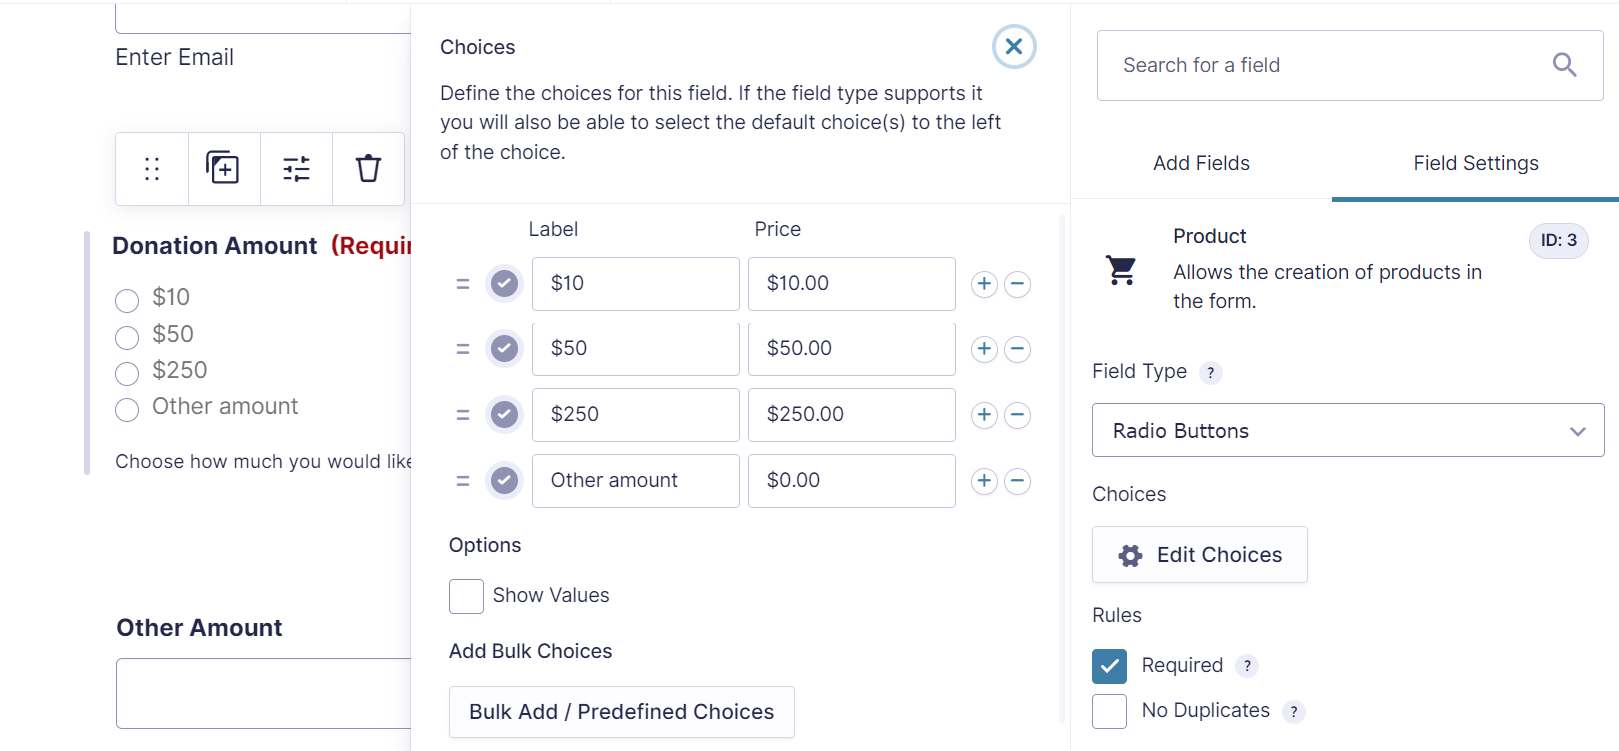
- Once you’ve placed the field into the editor, go to the Field Settings to configure your donation options:
- Single product: a single, fixed donation amount.
- Drop Down: a series of discrete donation options displayed in a drop-down list.
- Radio Buttons: a series of discrete donation options displayed as selectable buttons.
- User Defined Price: a number input field that enables users to donate a custom amount.
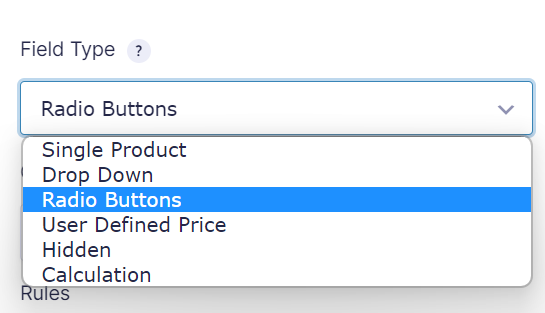
- To accept fixed donation amounts, use the Single, Drop Down, or Radio Button product types. For users to enter a custom amount, the User Defined Price field works best.
- You can also combine these by adding an “Other amount” option in a Drop Down or Radio Button field that reveals a User Defined Price field when selected. The Gravity Forms donation form template showcases the “other amount” option in action.
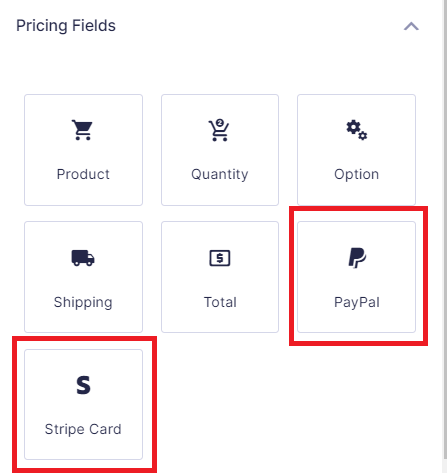
- Add a field for your integrated payment processor – these will automatically appear under the ‘Pricing Fields’ tab when you have installed the relevant add-on from the Gravity Forms > Add-ons page as described earlier.
Your donation form is now ready for use on your WordPress website. You can easily embed it into any page or post using the Gravity Forms block (in the Gutenberg editor) or the dedicated form shortcode.
For more information on different embedding methods, check out our complete guide to embedding Gravity Forms on your website.
Get more out of your donation forms
Here at Gravity Wiz, we offer a veritable spellbook of solutions to help optimize your donation forms beyond Gravity Forms’ default customization options. Here are a few examples.
Add a progress meter to your donation forms
Incentivize site visitors to donate to your cause with the free Gravity Forms Progress Meter plugin.
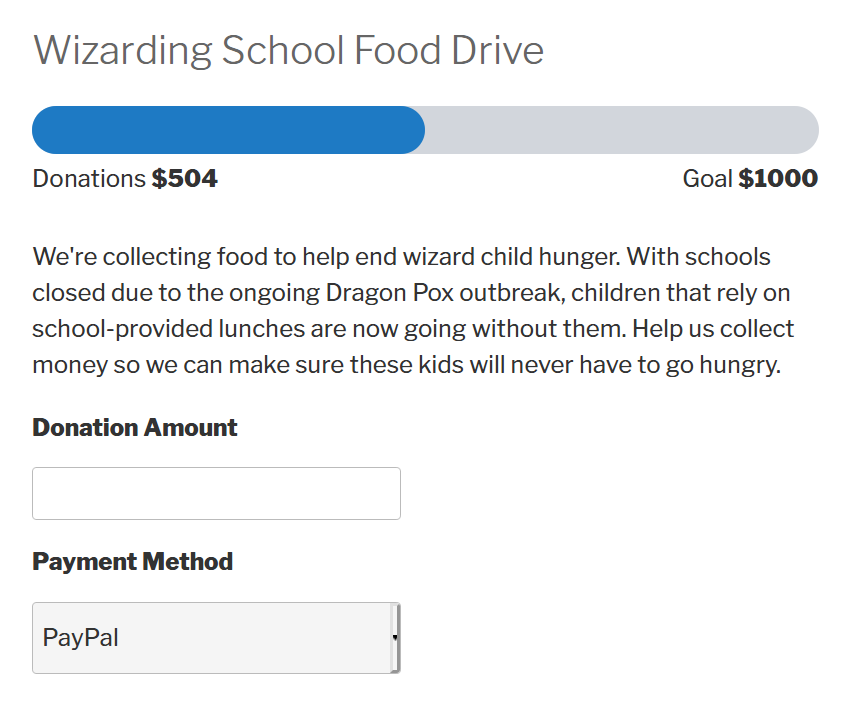
By adding a progress meter that tracks how close each submission gets you toward your target, you create a visual representation of your fundraising efforts.
You can track the number of submissions, the amount of money collected, or the number of products sold (e.g., if you are selling products with the proceeds going towards your cause).
Set multiple donation goals with Progress Meter that adds an auto-increment to the next financial goal after the last one has been completed.
Display your goal progress anywhere on-site using the Display Entries shortcode.
You can use Gravity Forms Progress Meter to create an online petition and display it anywhere.
Add minimum and maximum donation amounts to your “User Defined Price” fields
The Gravity Forms Price Range perk allows you to set a minimum or maximum amount that users can donate by setting a price range on your “User Defined Price” fields.
This functionality is ideal if you are offering incentives for users to donate (e.g., access to exclusive material, entry into a prize draw, etc.) but want to avoid a situation where users donate a minimal amount simply to access these incentives.
Let users choose amount with a slider
Want donors to choose an amount without typing? GP Sliders lets you turn donation amounts into a friendly slider with preset steps and dollar-value display.

When using this method, set your Product field type to Calculation and add the slider’s merge tag to the formula. Then, if you’d like to avoid repeating information, you can hide the Product field.
For the full setup, see our guide to adding a slider field to Gravity Forms.
Contact all users who have made a donation
Keep donors engaged and informed with the Gravity Forms Email Users perk, which enables you to easily contact all users who have made a donation via your donation form.
This is an excellent way to update donors about your progress toward your donation goal, share new donation incentives, and encourage continued engagement with your fundraising efforts.
You can even use conditional logic to filter which users receive your update emails based on their donation amount – perfect for providing exclusive content to specific tiers of donors in a crowdfunding campaign.
Display a list of donors with an optional message of support
Using Gravity Forms Entry Blocks, you can effortlessly display Gravity Forms entry data on the front end. In the context of donations, this is useful for showing a list of donors to add social proof for your cause or campaign.
Configure your form to allow users to indicate whether they would like to be publicly listed, how their name should appear, and whether they’d like to include a message of support. Go even further with Gravity Forms Entry Blocks by allowing users to edit their own entries, enabling them to tweak their names or edit their message.
These enhancements can help you significantly improve your Gravity Forms donation forms, providing your supporters with an optimized experience and encouraging more donations for your cause.
That’s it!
Through a combination of Gravity Forms and Gravity Perks, you can provide a more personalized donation experience for donors and ultimately a more successful fundraising campaign.
Explore the full range of Gravity Perks to help you build even more powerful and effective donation forms and take your fundraising efforts to new heights!
Have a successful fundraising story? We’d love to hear it! Share your ideas and suggestions on what you’ve accomplished with Gravity Forms and donations in the comments below!


Is there a way to set up selections such as “once” “monthly” “annually” and have Stripe “see” that selection and send out automatic billing to the credit card accordingly?
Hey Judi,
Yes! This is technically possible, since the Stripe Add-On for Gravity Forms allows you to set up both one-time purchases as well as recurring subscription feeds.
The general approach here would be as follows: 1. Set up three different Stripe feeds, one for each scenario. 2. On your form itself, create a multiple-choice field that has all three options. This allows your users to choose what selection they want. 3. Use conditional logic to match up each choice with the appropriate feed to process. This is what allows Stripe to “see” the choice. You can read more on Stripe feed settings here.
Note that Stripe will only process one feed on submission, so it’s crucial to make sure that your conditional logic is set up properly.
Hoping that’s helpful, and if you need any more assistance, please follow up via Support!
At the beginning, you mentioned integration with other payment platforms like Apple Pay and Google Pay. However, I didn’t see any instructions for accomplishing that task after the initial intro. How is that done? Venmo as well?
Hi Jason,
Integrations with payment platforms are performed using Gravity Forms payment gateways. Apple Pay and Google Pay can be integrated using the Stripe payment gateway. You can read more about the complete range of Gravity Forms payment gateways here.
Best,