Action Scheduler
Action Scheduler Basics
To further increase the robustness of our Connections, any interactions with an entry that triggers a Connection (e.g., adding an event to a calendar, updating a row on entry edit, trashing a contact when an entry is trashed) will be run through Action Scheduler.
Action Scheduler is a battle-tested job queue framework that was created by the WooCommerce team. It is an integral part of WooCommerce and many other popular WordPress plugins today.
By using Action Scheduler, you have more visibility into actions and whether or not they’ve already successfully run or failed.
If any of the Connection’s actions in Action Scheduler fail, Gravity Connect will automatically schedule follow-up retries using an exponential backoff strategy to help ensure that new entries, edited entries, and deleted entries are reflected in the connected service.
Accessing Action Scheduler
You can navigate to Action Scheduler by going to Tools › Action Scheduler in the WordPress Dashboard.
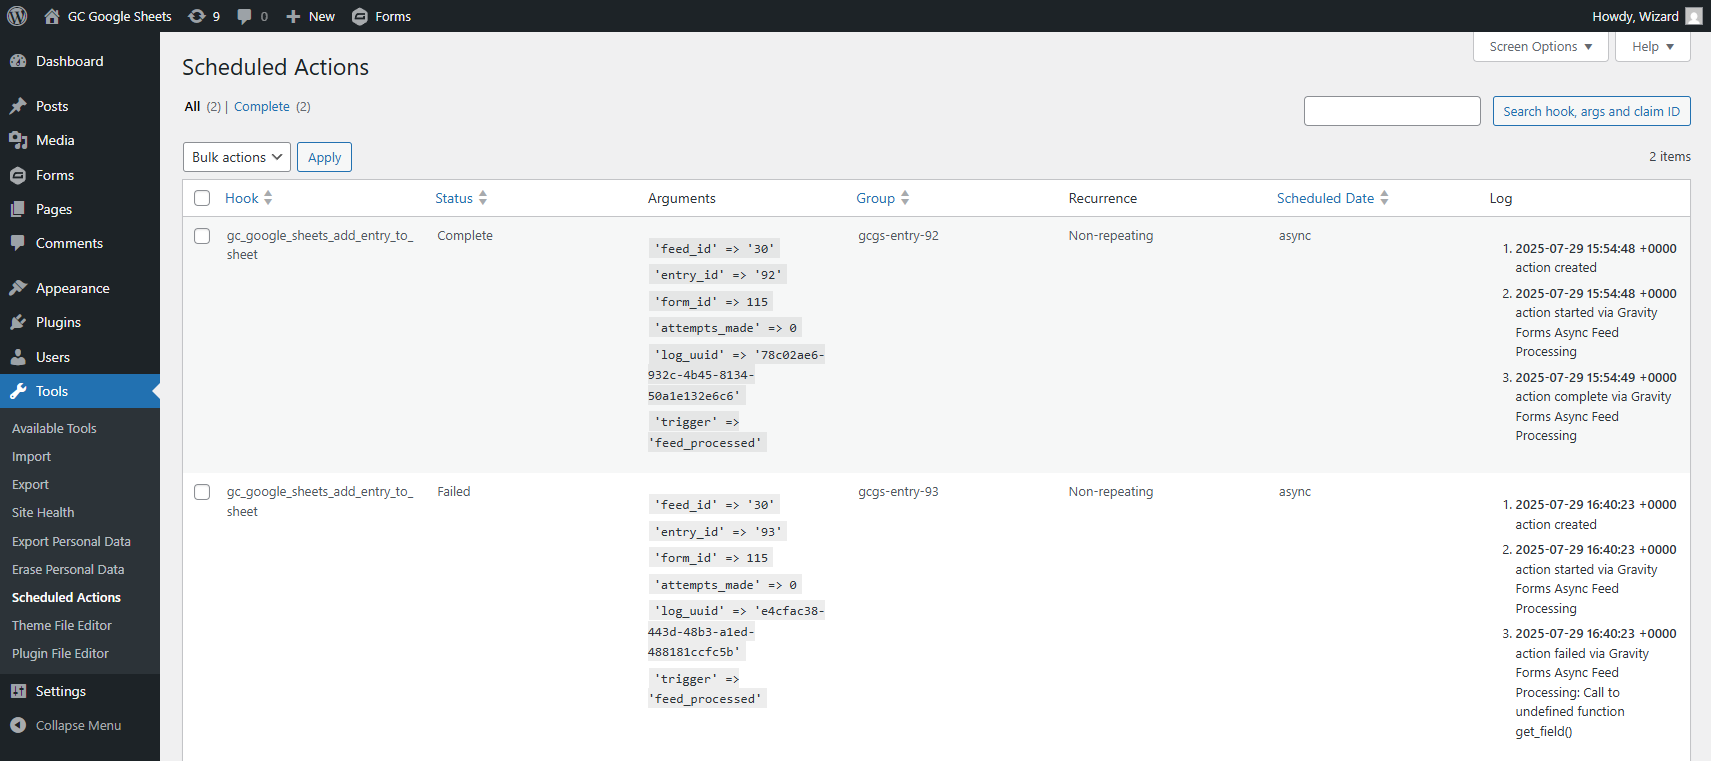
Failed Actions
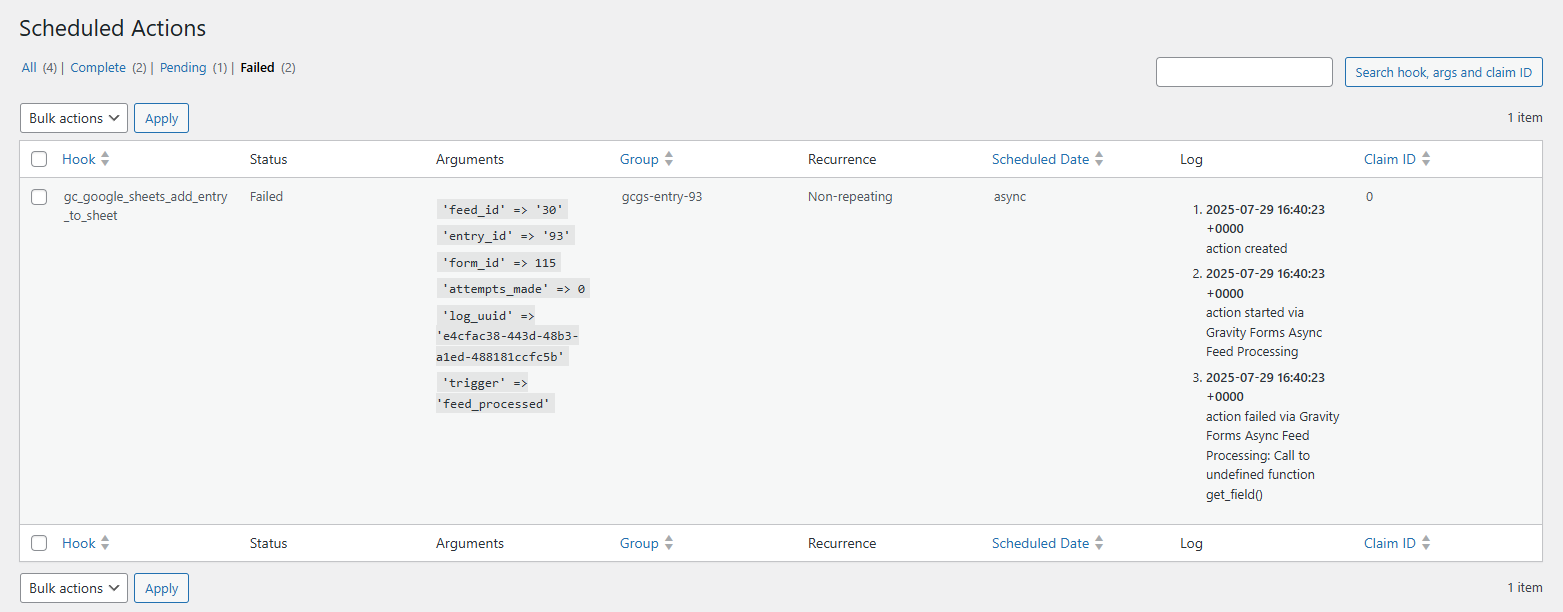
To get more insight into why new entries (or entry updates/deletions) are not making it to the connected service, you can navigate to the “Failed” tab of Action Scheduler.
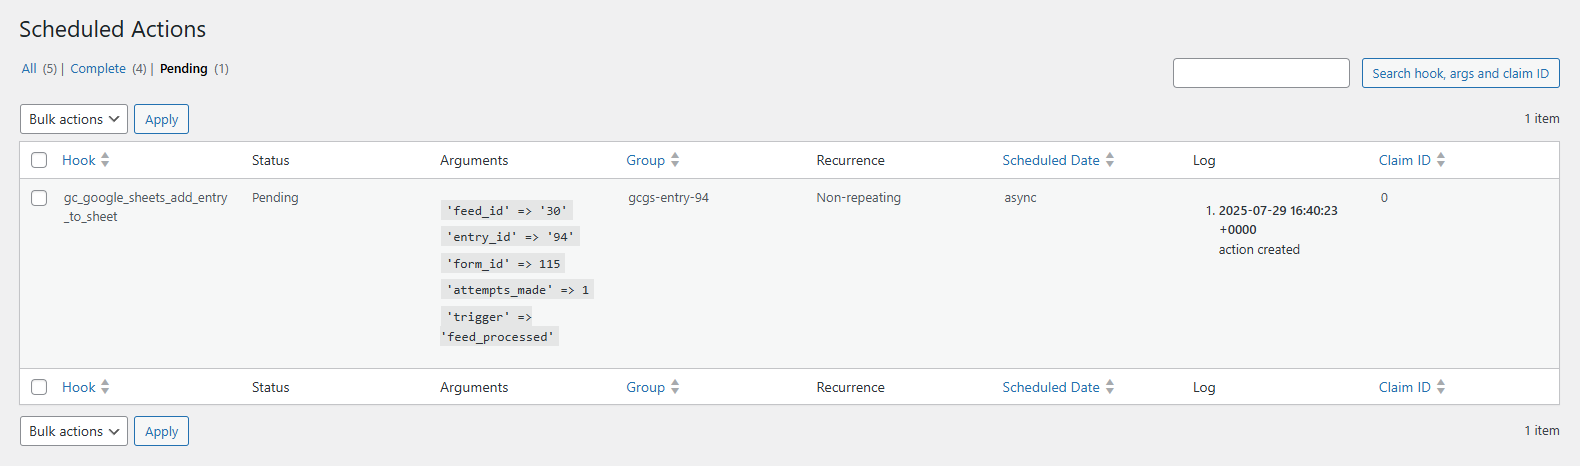
Pending Actions
Gravity Connect uses an exponential backoff strategy for any failed requests associated with an entry. Due to the exponential backoff, there will be a delay between each retry.
If you’re curious when the next retry will be or want to run the pending actions immediately using the “Run” button, you can access them under the “Pending” tab.
Troubleshooting Action Scheduler
If you’ve confirmed that your account is connected and your Connection feed is configured correctly, you may be experiencing an issue with Action Scheduler. This tool powers Gravity Connect’s ability to handle temporary failures by automatically attempting to process the feed or entry update again.
Confirm Loopback Requests are Supported
The first thing to confirm is that Action Scheduler can function as expected. The most common issue we see is sites that cannot perform loopback requests.
You can confirm if your site supports loopback requests by navigating to Tools › Site Health. If the “Your site can perform loopback requests” test is failing, try whitelisting the 127.0.0.1 IP and test again.
If the test still fails, check your web server to see if there are any rejected requests in the logs. Look at the IP address for these rejected requests and whitelist that IP as well.
If none of this makes sense, your hosting provider can help!
Purge Action Scheduler
As a last resort, you may need to purge all of the Connection’s scheduled actions.
To confirm if this step might be helpful, navigate to Tools › Scheduled Actions in your WordPress admin menu. If there are a high number of failed actions, follow these steps to purge the action scheduler.
- Add the following PHP snippet to your site via a code manager or directly in your theme’s functions.php file.
add_filter( 'gcgs_show_danger_zone', '__return_true' ); - Go to Forms › Settings › Google Sheets and click the Purge Action Scheduler button in the Danger Zone section.
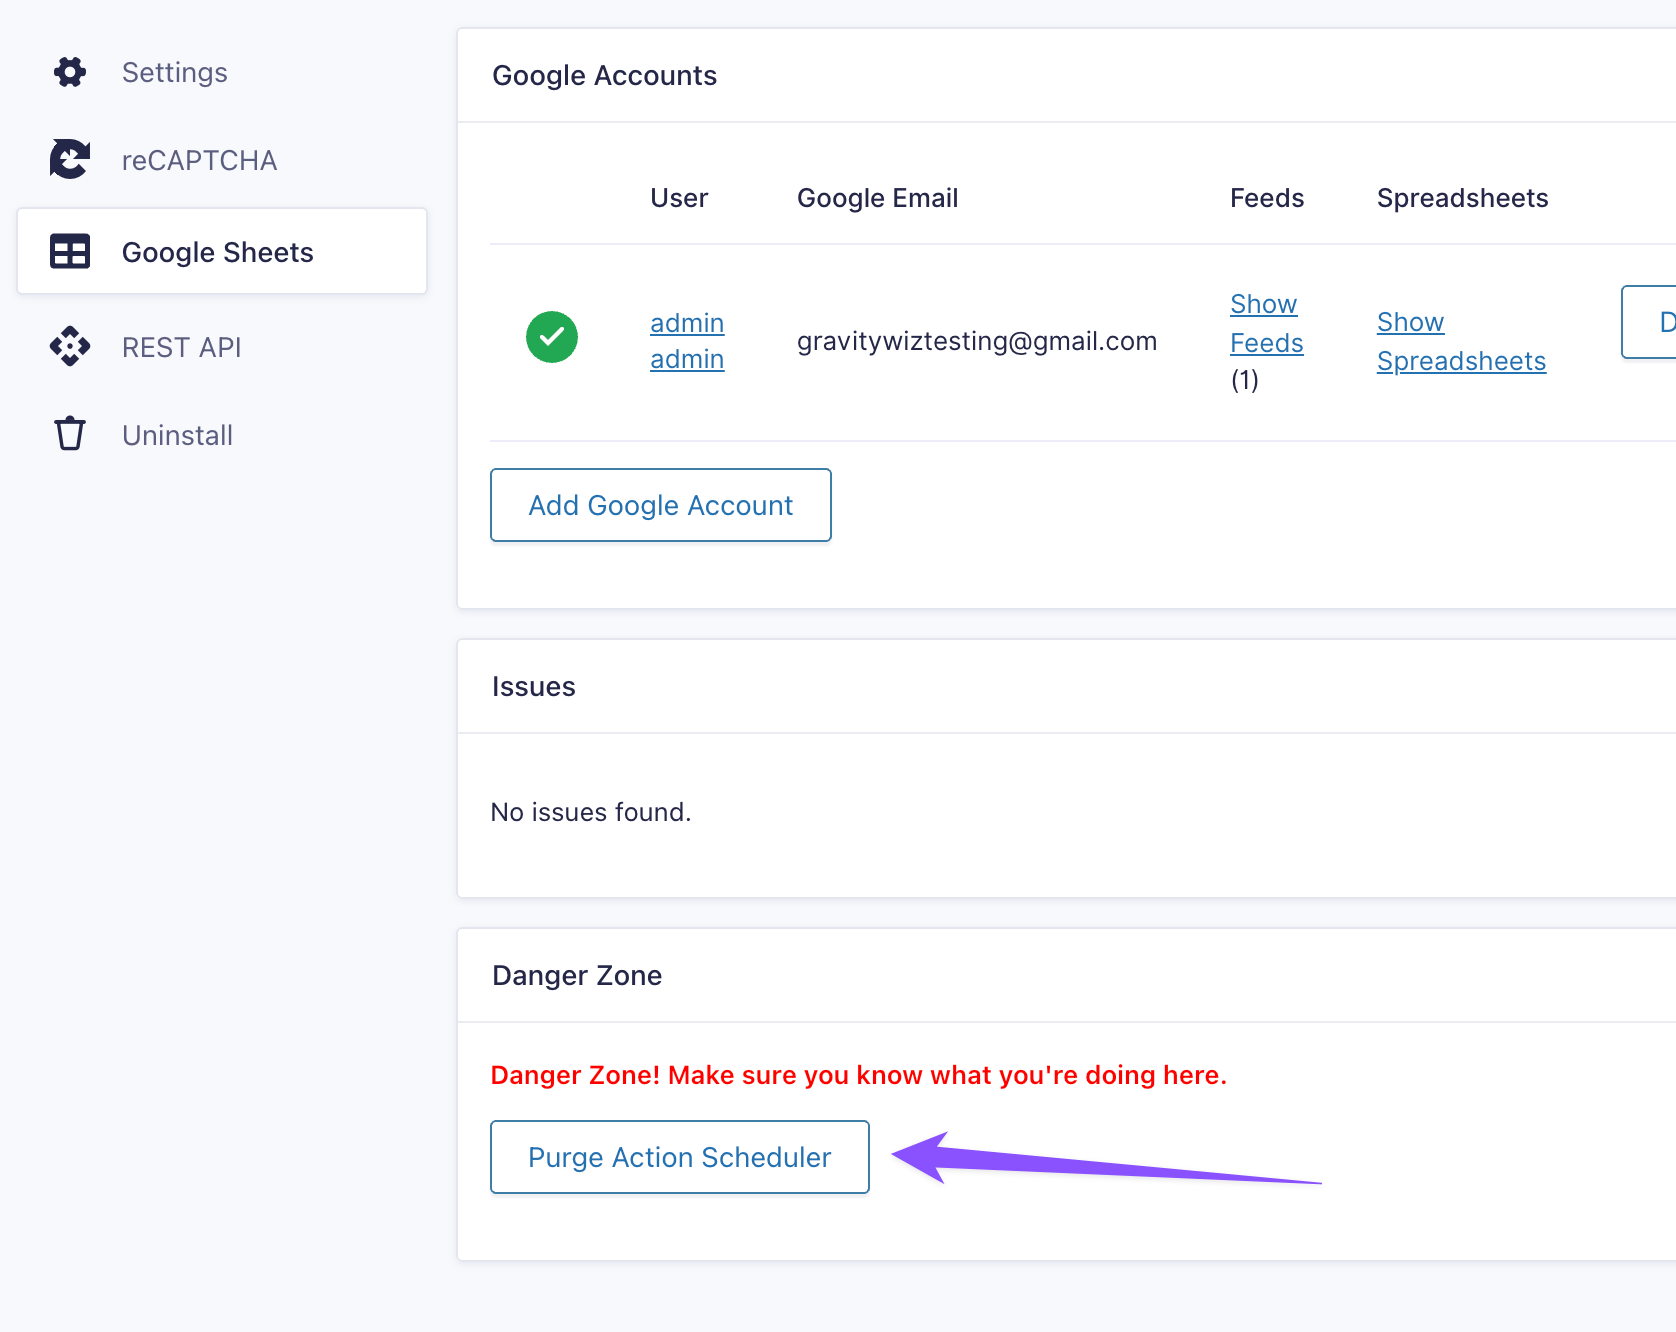
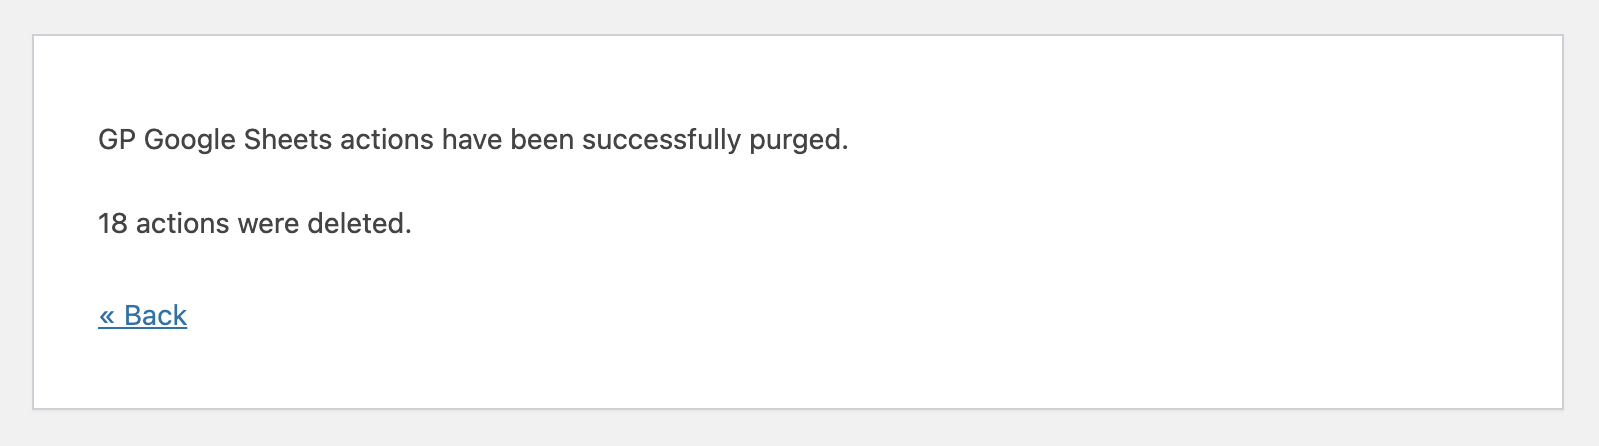
- After clicking this button, you should see a confirmation like this:
- Remove (or deactivate) the snippet. You don’t want to accidentally click this button!