How to Create a Site Backup with UpdraftPlus
If you’re having an issue on your site and need to send us a copy, here’s a step-by-step guide to create a site backup with UpdraftPlus.
Steps
- Install and Activate UpdraftPlus
- Set Up Backup Settings
- Create Your Backup Package
- Send the Backup Files
Step 1 – Install and Activate UpdraftPlus
First, download UpdraftPlus and install the plugin on your site. 🧙
Using a multisite? We’ll need to use a different backup solution. Reach out to our support team for further instructions.
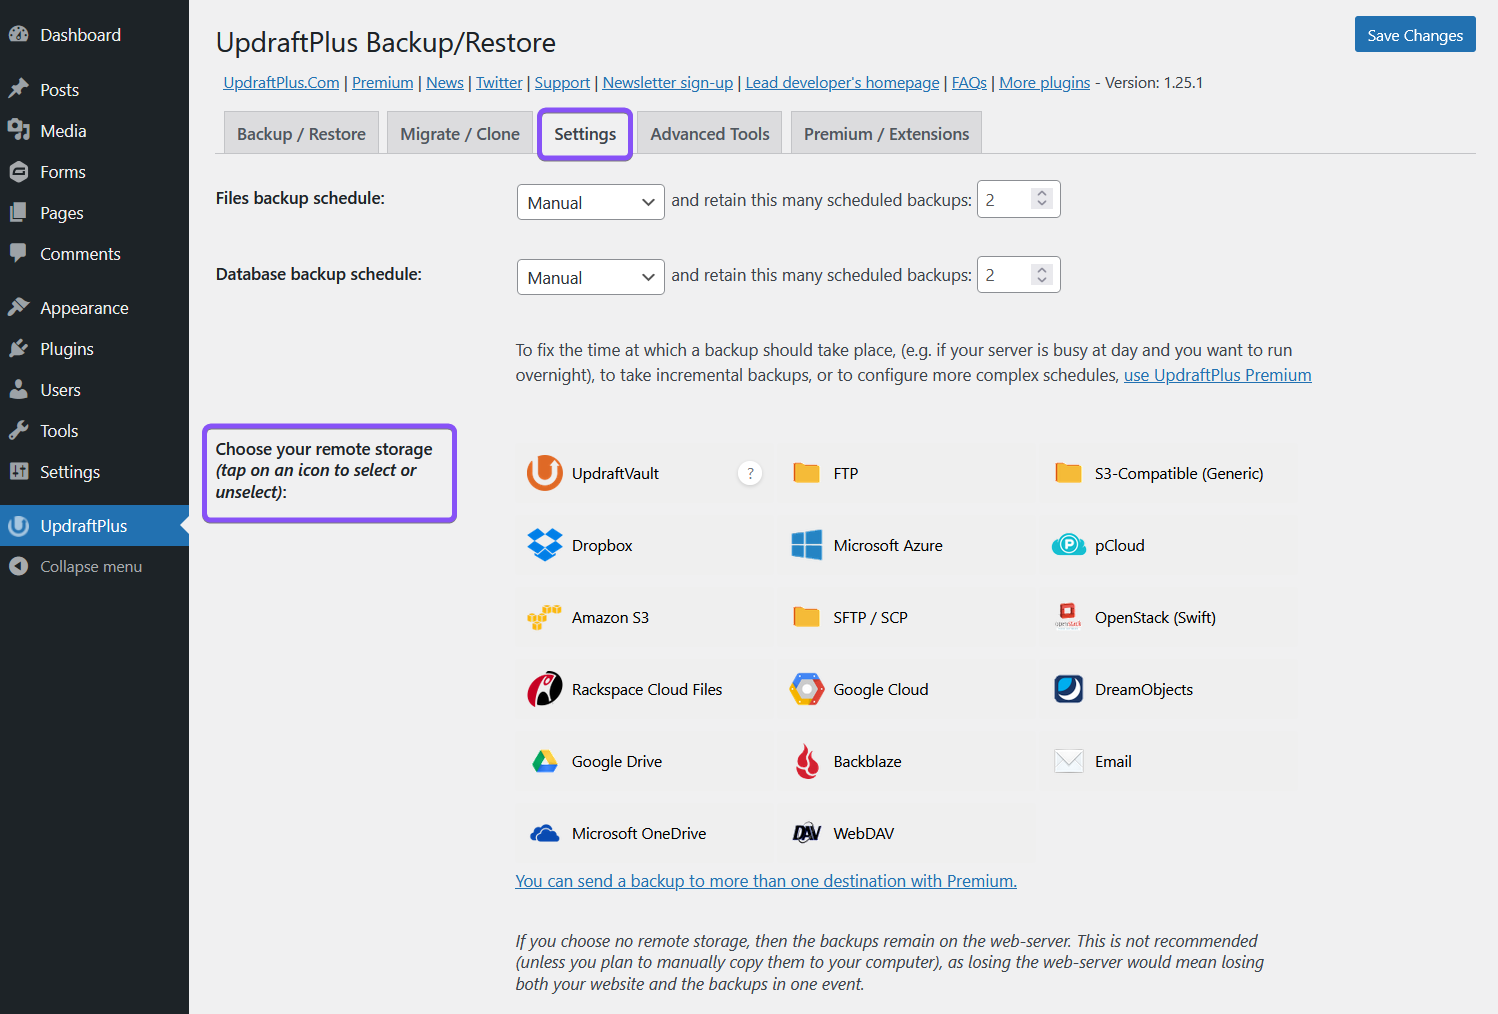
Step 2 – Set Up Backup Settings
Navigate to UpdraftPlus and go to the Settings tab to edit the backup settings.
Choose your remote storage
The first relevant setting you’ll see is Choose your remote storage. If you use any of these services, you can authenticate UpdraftPlus to send your files directly to the cloud.
If you’d prefer to manually upload your files or use a service that isn’t listed (e.g. WeTransfer), you may skip this setting.
Include in files backup
We generally don’t need your file uploads when we’re troubleshooting your site. Let’s get rid of them to make your backup faster.
Scroll down to Include in files backup and unselect ☐ Uploads and ☐ Any other directories found inside wp-content.
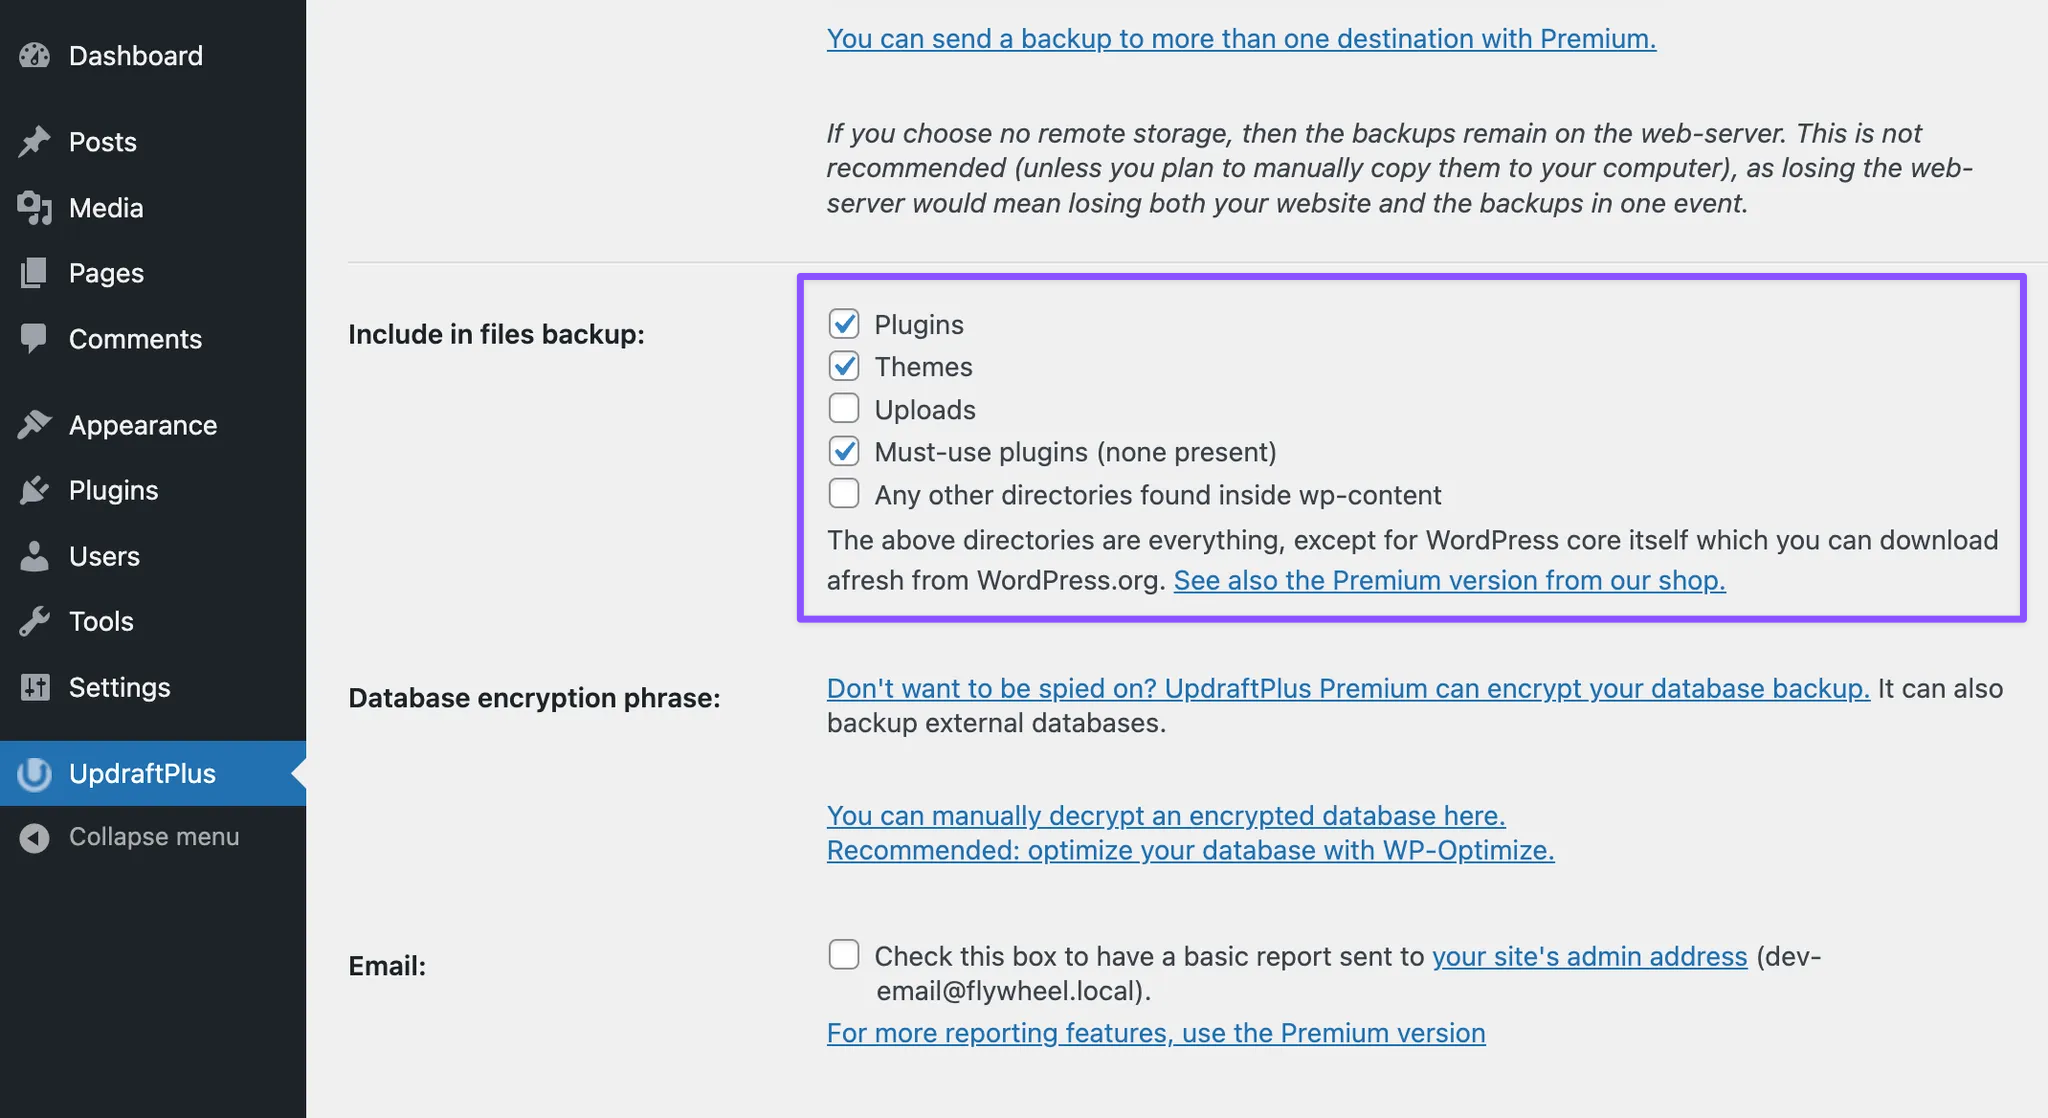
Scroll down to the bottom of the page and click Save Changes.
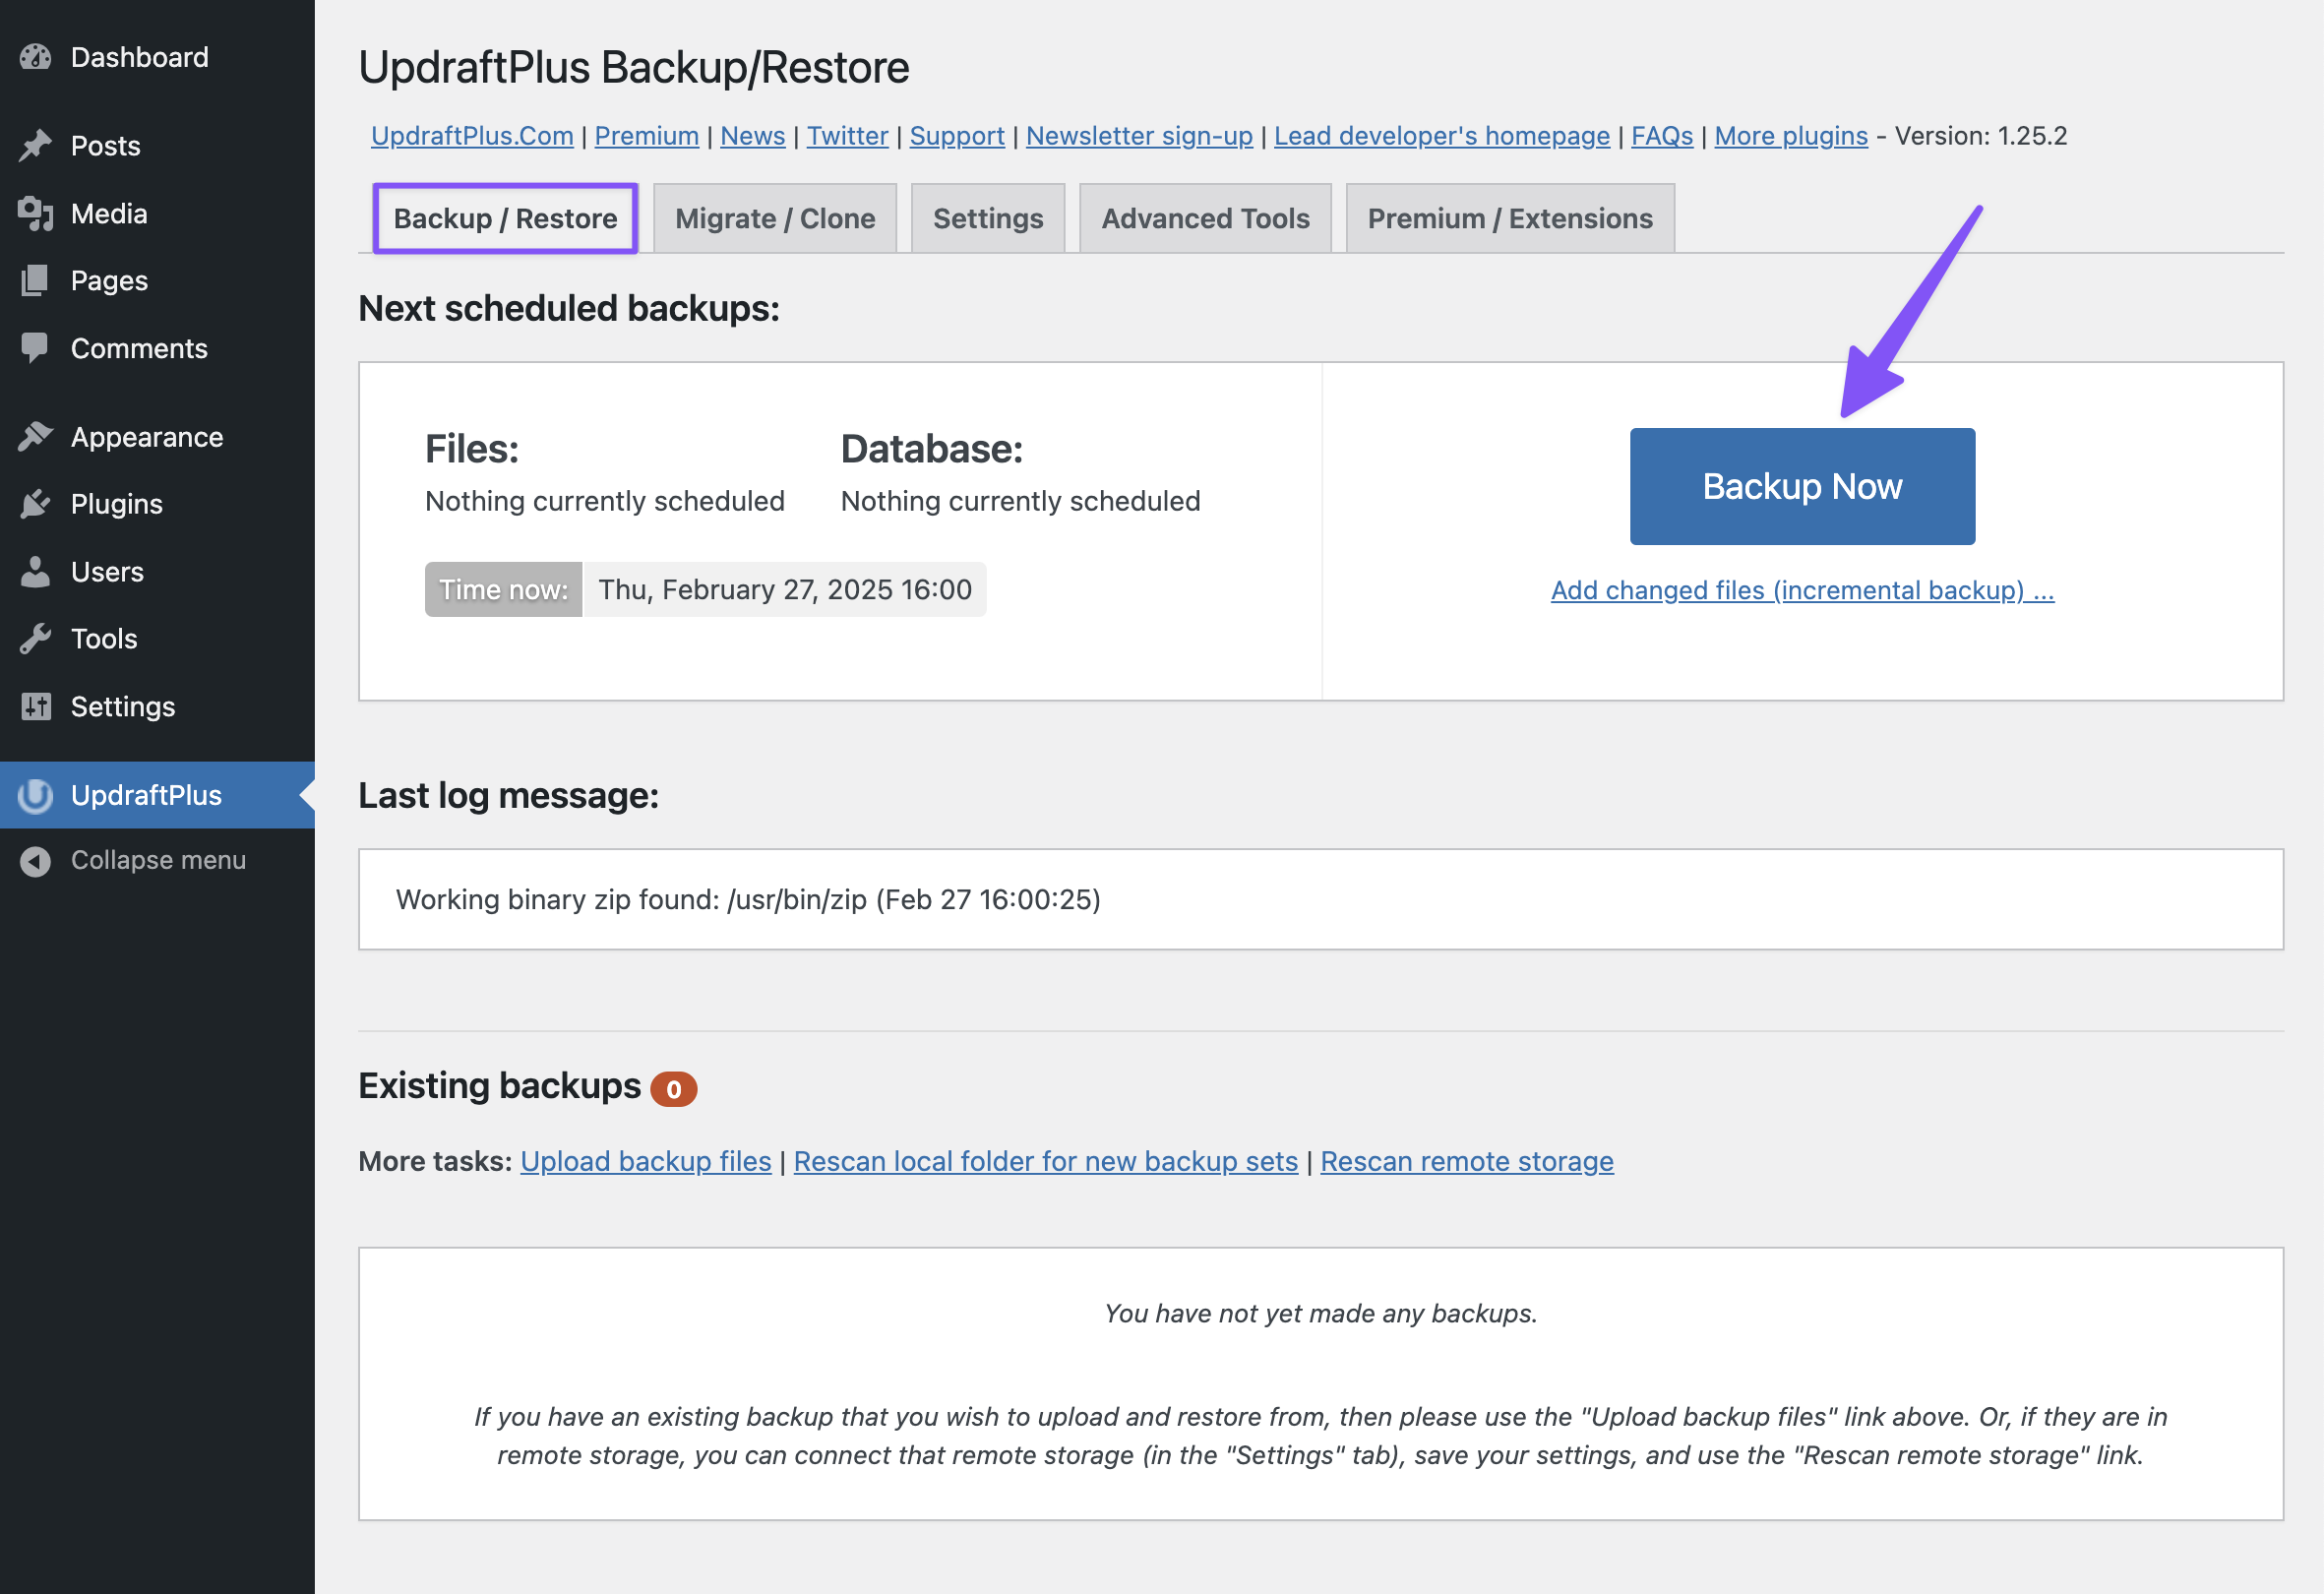
Step 3 – Create Your Backup Package
Now that we finished setting up, we’re ready to create our first backup!
Navigate to UpdraftPlus › Backup / Restore and click on Backup Now.
A window will appear with settings specific to this backup. Since we’ve gone through the setup process in the Settings tab, you can just click on Backup Now on the bottom right.
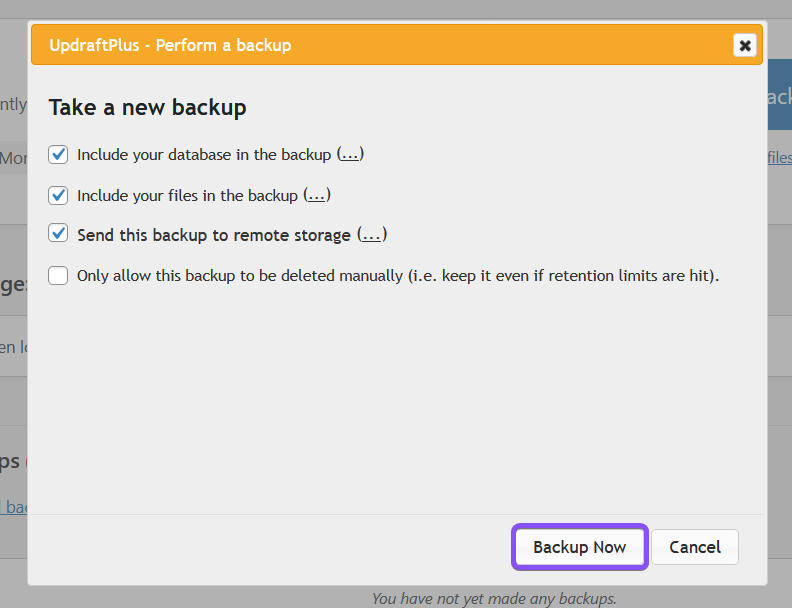
UpdraftPlus will create your site backup. This process may take a few minutes.
Note: if you run into an error, please reach out to our support wizards for further assistance.
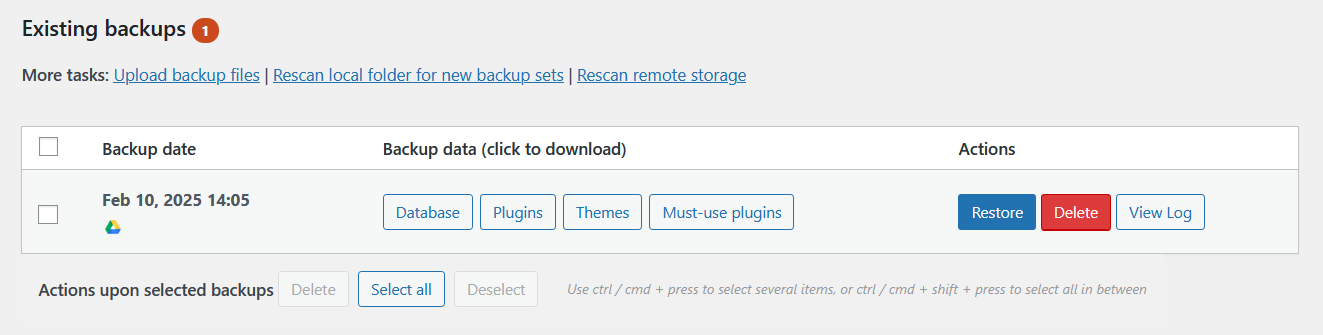
Once the process finishes, you should see a new backup created under the Existing backups table.
If you set up a remote storage with UpdraftPlus, you’re ready for Step 4. Otherwise, let’s continue!
Click on Database, Plugins, Themes, and Must-use plugins individually to prepare for download. Then, download each zip by clicking on Download to your computer.
After the four zips are downloaded, upload them to a cloud storage service like WeTransfer, Google Drive, or Dropbox.
Step 4 – Send the Backup Files
Now that your site backup is complete and uploaded, the final step is to send the links to Gravity Wiz Support and respond to the ticket in which the backup was requested. That’s it!