Gravity Perks
- What is Gravity Perks?
- What is a perk?
- Why are perks separate plugins?
- Installation Instructions
- Browsing and Installing Perks
- Managing Perks
- FAQ
- Support
What is Gravity Perks?
Gravity Perks is a suite of plugins that integrate seamlessly with Gravity Forms and allows you to extend functionality and add new features.
What is a perk?
A perk is a Gravity Forms add-on that extends its capabilities with new features. Perks range from simple enhancements to advanced functionality, but they’re all part of the ever-growing Gravity Perks suite. Check out a full list of available perks.
Why are perks separate plugins?
Each perk is provided as a separate plugin because their complexity varies — some are simple, while others are more advanced. Bundling them together could lead to confusion and inconsistency.
If you’d prefer a cleaner Plugins page, you can use the Hide Perks from Plugins Page snippet to hide the perks. Our Spellbook FAQ provides more information.
Even when hidden, perks will still show up in the Dashboard › Updates list and can always be managed from Spellbook.
Installation Instructions
Gravity Perks is managed through Spellbook, our lightweight platform (and WordPress plugin) which consolidates licensing, installation, updates, and product discovery into a single, seamless experience.
Learn more about how to install Gravity Perks plugins through Spellbook.
Browsing and Installing Perks
Gravity Perks plugins are available through Spellbook. Be sure to view the instructions on how to install and use Spellbook.
Once Spellbook is installed, view Gravity Perks by navigating to Spellbook › Perks. If your license is not yet activated, you can also do so through Spellbook. From there, just search for a perk or browse the list.
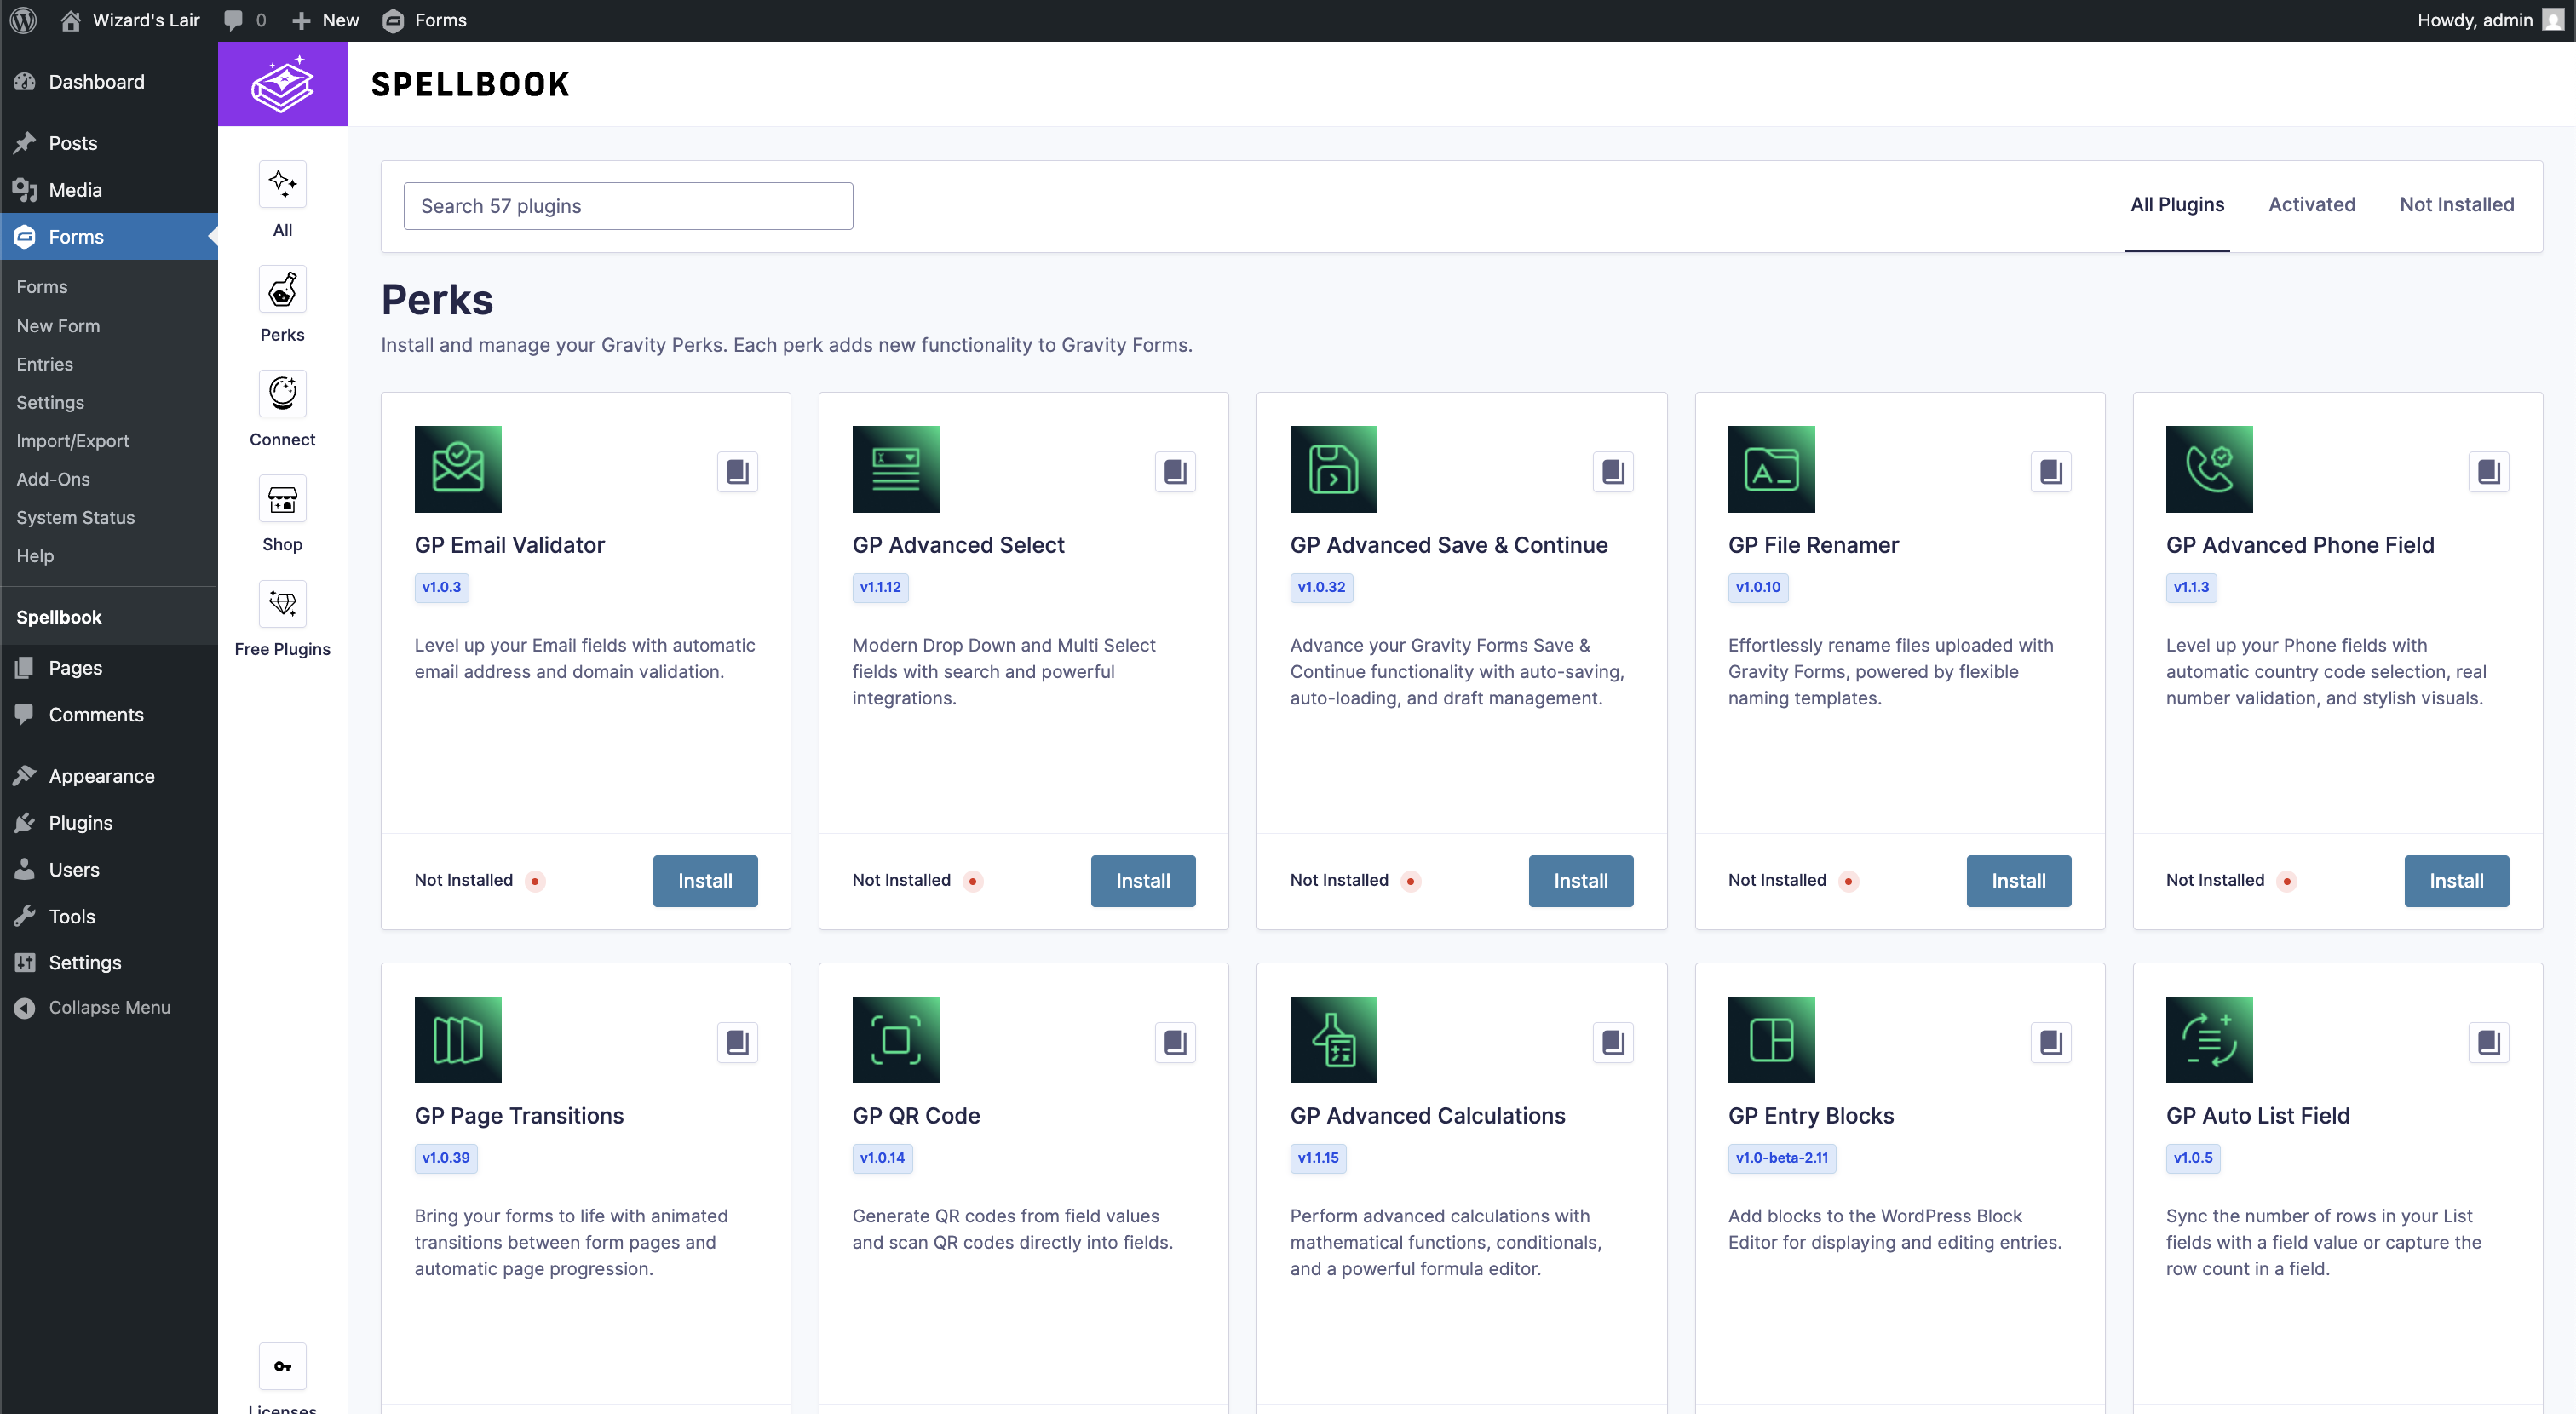
To install a perk, simply click the Activate button beneath the perk. It will automatically sync with your Gravity Perks license.
Managing Perks
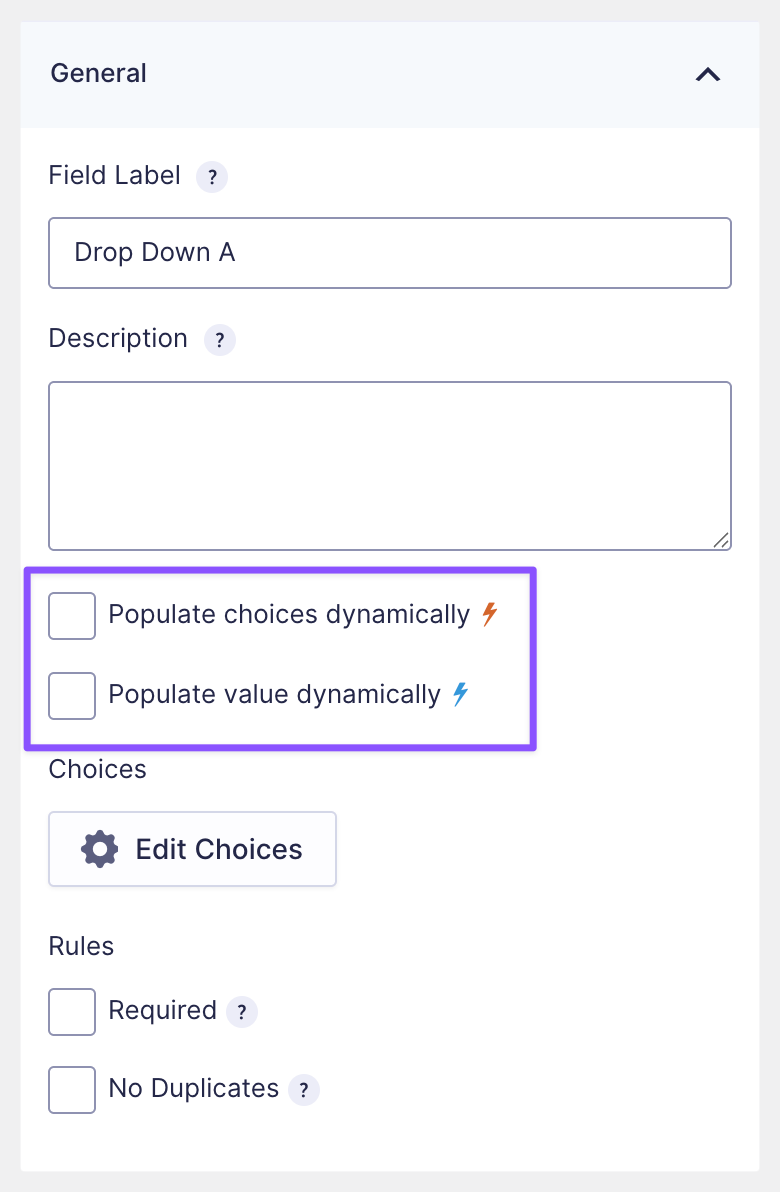
Each Perk adds its own custom settings depending on the functionality it provides. Many of these custom settings will appear under a new “Perks” tab on the field settings area.
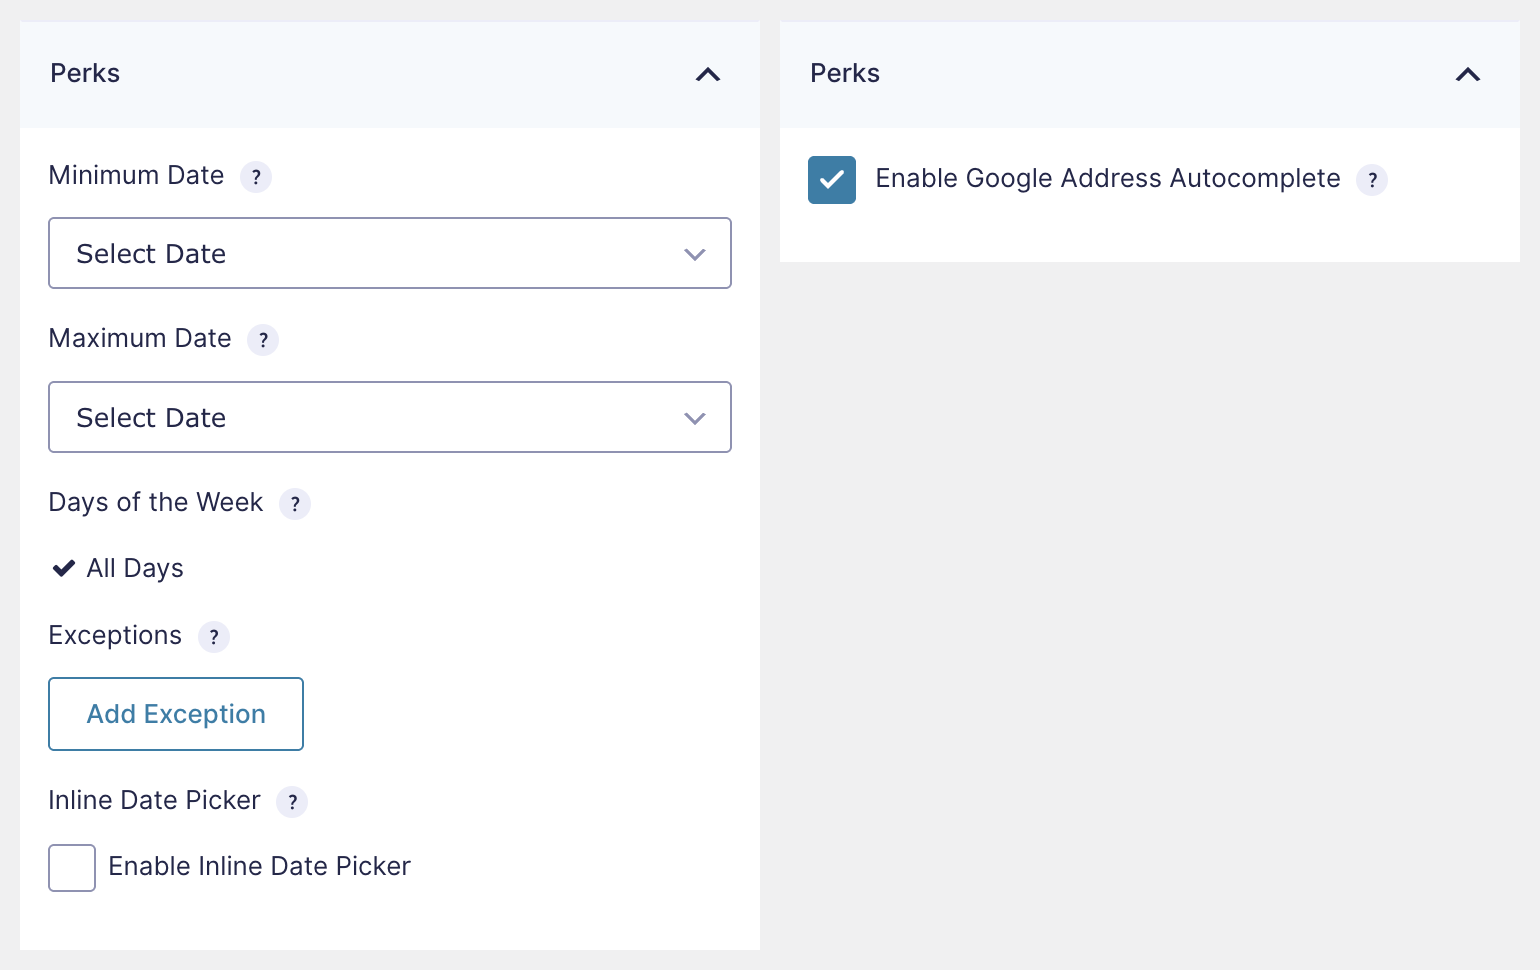
Some perks will add options inline instead of in a separate “Perks” tab.
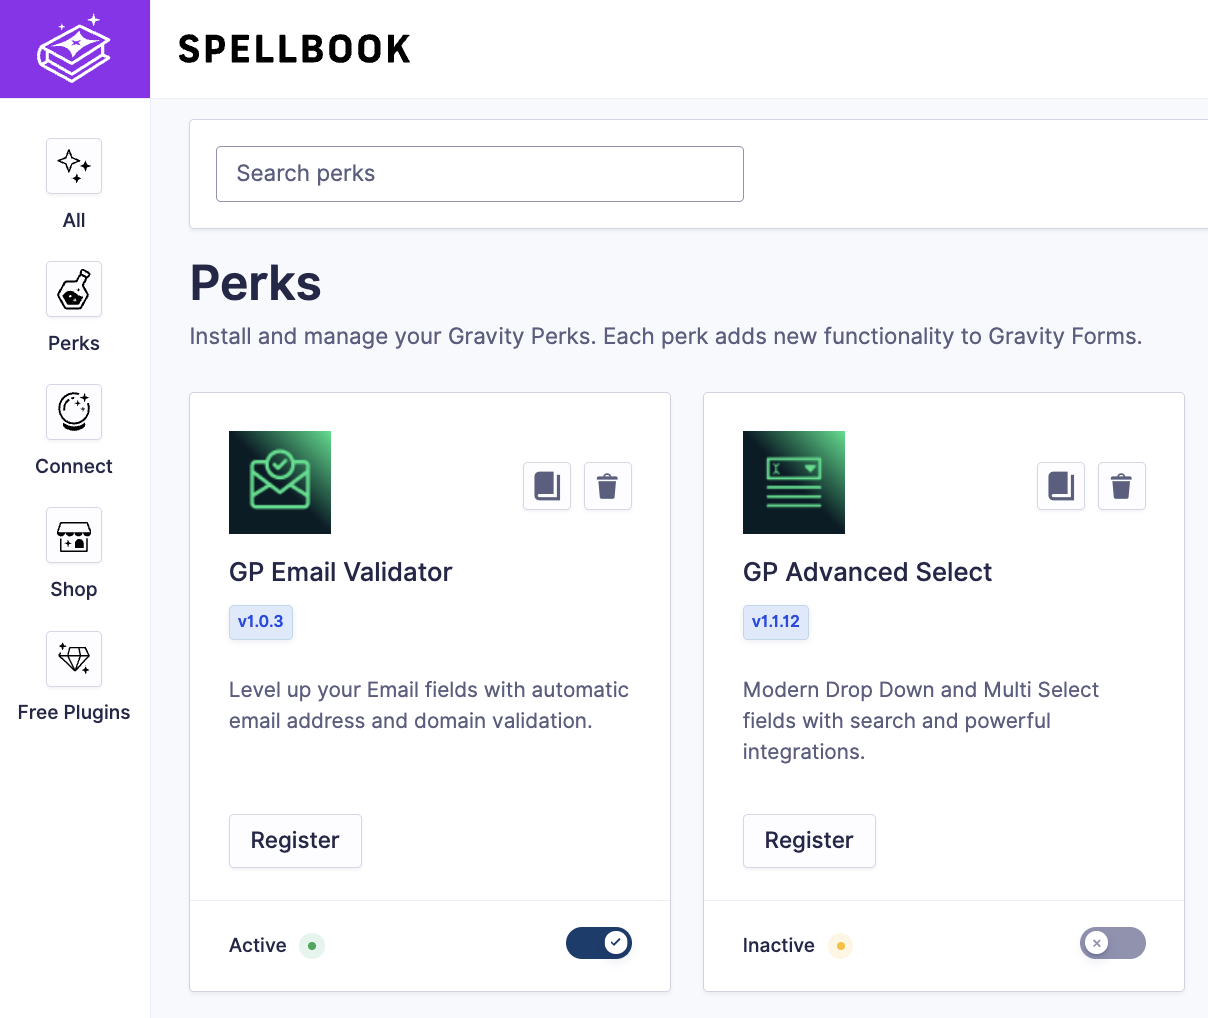
Some perks will add “global” settings that are not form or field specific. If a perk has any global settings, you can manage them from Spellbook by clicking the gear icon next to the perk title.
Please note: the gear icon will only be displayed if a perk requires one or more global settings.
The best way to learn more about managing a specific perk is to read the perk’s documentation. To view the documentation for a specific perk, go to Spellbook and click the book icon displayed beneath next to the perk title.
FAQ
- Gravity Wiz Account FAQ
- Gravity Wiz Licensing FAQ
- Why Won’t This Snippet Work?
- How Do I Translate Gravity Wiz Plugins?
Support
If you come across any issues or have any questions, please be sure to get in touch via support.