

Building Workflows
Adding & Connecting Nodes
Add nodes at the right point, connect paths, insert a node on a connection, and tidy the canvas.
A workflow starts with a trigger, then follows the connections between its nodes. Building one mostly means choosing where a node belongs and what should run after it.
In other words, “what do I want to do, and in what order?”
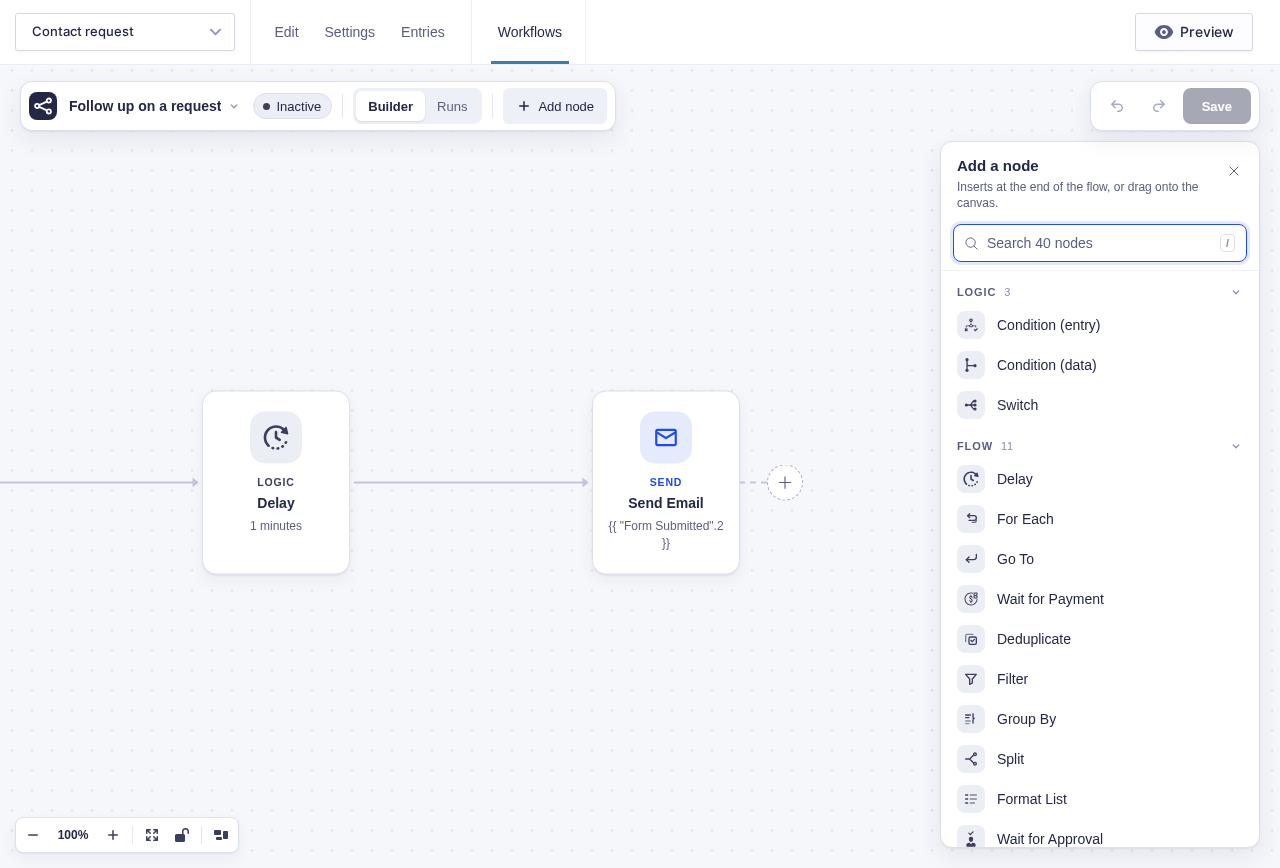
Open Add a node
Section titled “Open Add a node”Use any of these methods:
- Select Add node in the toolbar.
- Press A or / while focus is on the canvas.
- Select the + on a node, connection, or dashed Add a node endpoint.
The panel opens down the right side of the canvas. Nodes are grouped by job, and you can search by name. Press Enter to add the first search result.
Choose where the node goes
Section titled “Choose where the node goes”The toolbar panel uses your selection to choose a useful insertion point:
| Canvas state | Result |
|---|---|
| One regular node selected | The new node is connected directly after it |
| Nothing selected | The new node is added at the end of the workflow |
| A node with several output paths selected | The new node is placed without a connection so you can choose the path |
The new node stays selected and the panel stays open, making it easy to add several steps in sequence.
For exact placement, select a + at the point where the node belongs. You can also drag a node from the panel onto a connection between two nodes. The connection will turn blue, so you can just drop to insert it.
Triggers always begin a workflow, so they can only be dropped onto empty canvas space.
Connect existing nodes
Section titled “Connect existing nodes”Drag from a node’s connection control to the target node. The arrow shows the direction the workflow follows. To repeat an earlier section, use Go To instead of drawing a normal connection backward.
To change a connection, hover over it. A small pill appears at its midpoint:
- + inserts a node on that connection.
- × removes the connection without deleting either node.
A run starts at its trigger and follows the arrows. If one node connects to several next nodes, those branches can run independently. When branches reconnect at one shared node, that node waits for every branch that actually started.
Build decision paths
Section titled “Build decision paths”Some nodes provide labeled outputs. A Condition has Yes and No; Switch has one output per case plus Default.
Only the chosen path runs. Nodes found exclusively on other outputs are shown as skipped in Runs mode. An untaken path does not hold up a later join.
See Branching & Conditional Logic for the routing rules.
Move and tidy the layout
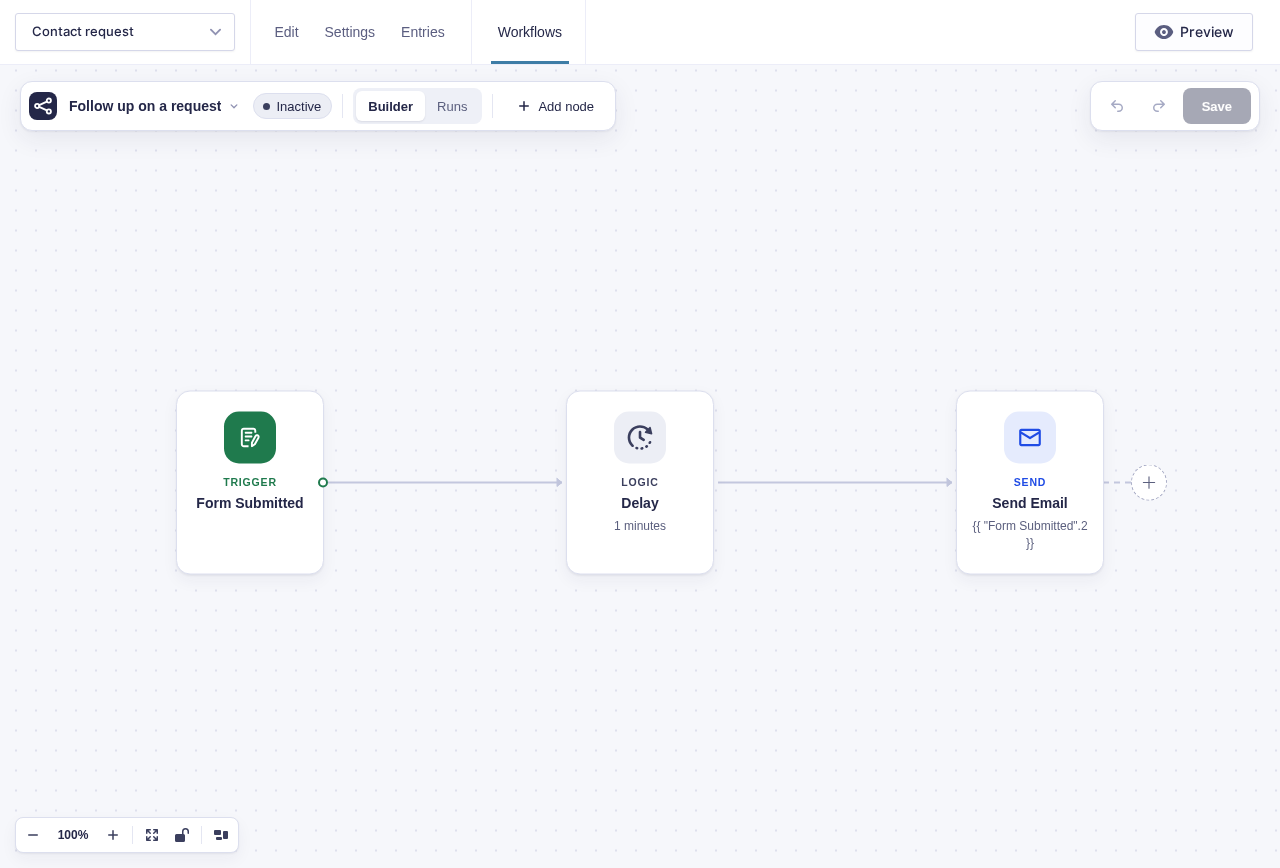
Section titled “Move and tidy the layout”Drag cards wherever the workflow is easiest to read. Position is visual only; connections still determine execution order.
Select Tidy up in the bottom-left zoom controls to arrange the complete workflow using the site’s left-to-right or top-to-bottom setting. The same controls can fit the workflow between 75% and 100% zoom or lock the canvas against accidental movement.
Delete and undo
Section titled “Delete and undo”Select a node and use its trash action, or press Delete or Backspace. Flowcrafter removes it immediately and displays an Undo notice for a few seconds. The undo is offered only until another edit changes history.